Sliding Hitch and Shackle

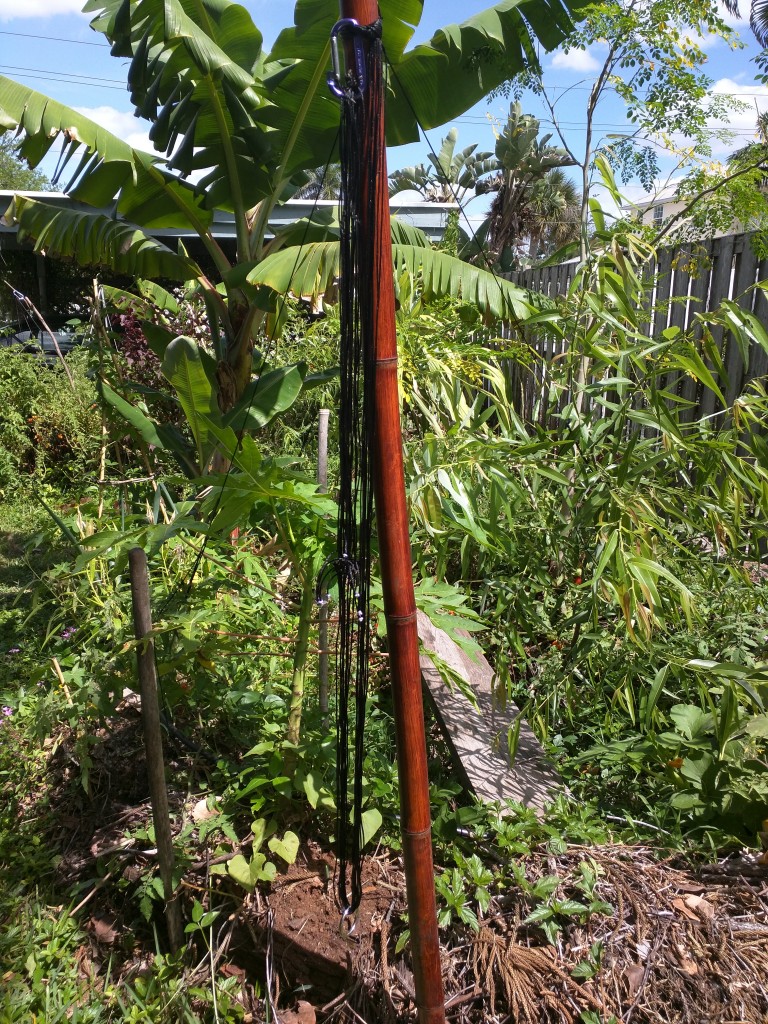
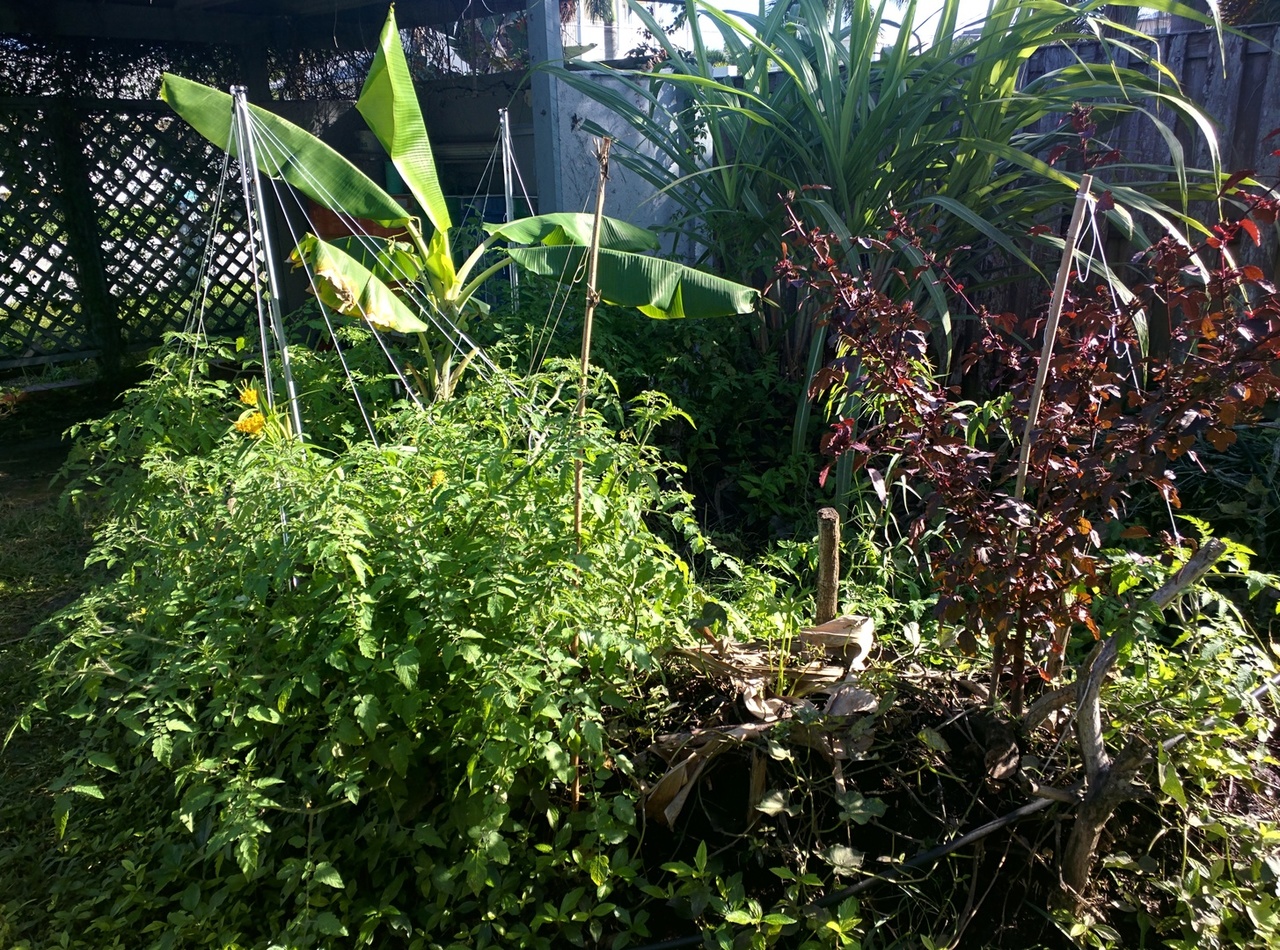
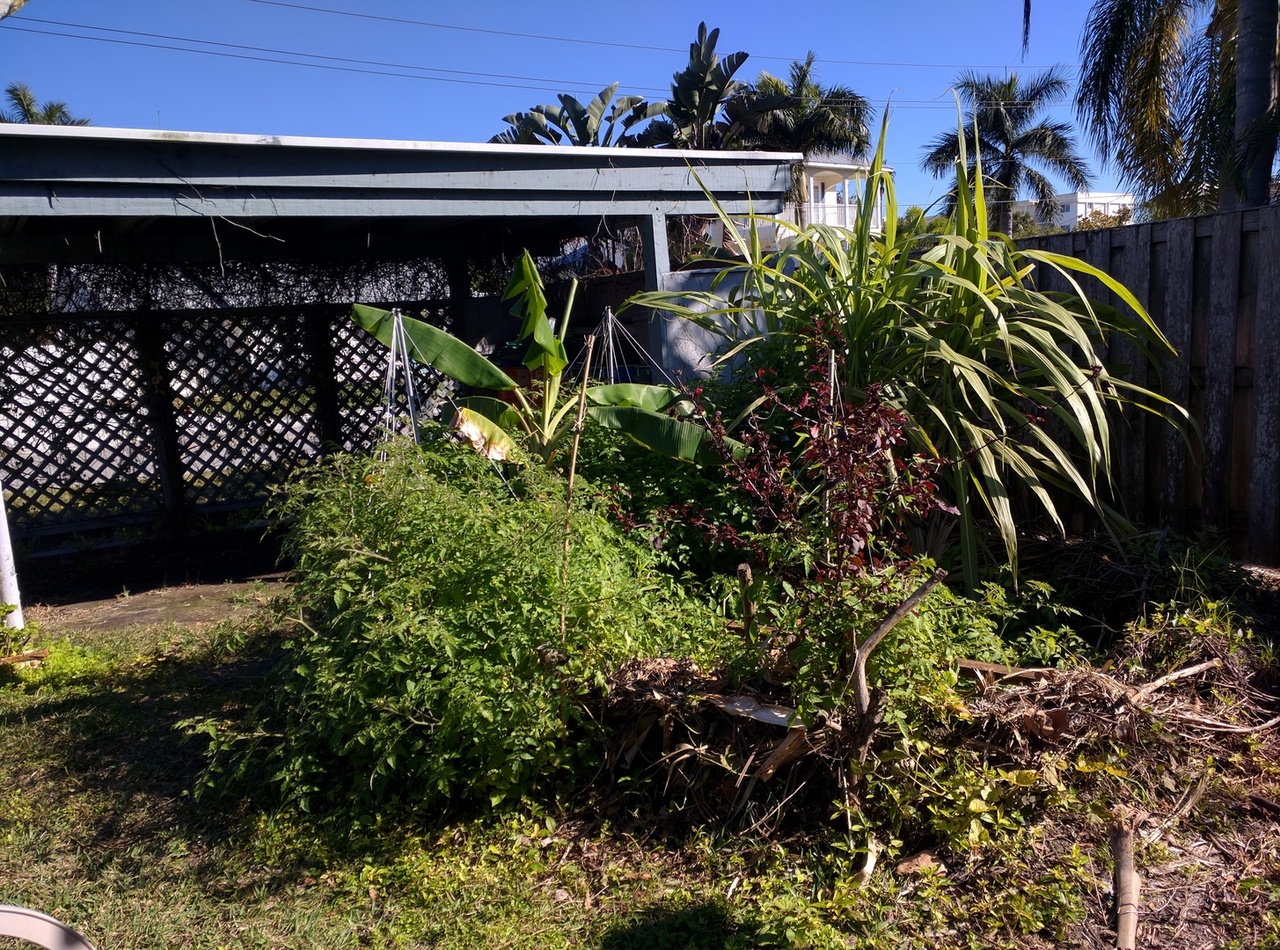
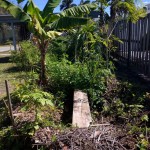
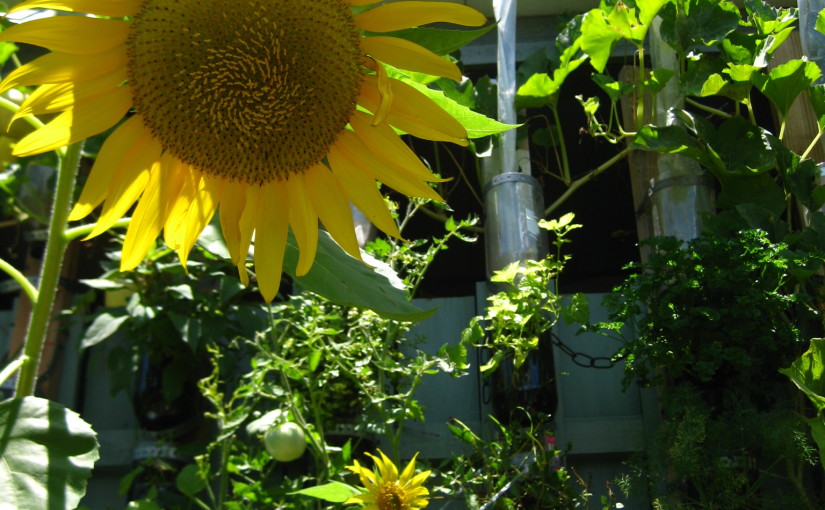
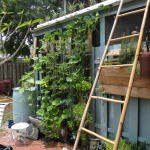
Since making the video (see below), I’ve switched to rattail cord which is a little thicker and handles better. I’ve decided to offer it as a handmade product, and I’m willing to make some for those who are interested. The lines can shackle objects up to 7ft away.  This picture shows the black rattail line and the carabiner (bamboo pole not included). There are a dozen lines in all. Two of the lines are shackling plants to the left and right of the pole.  Cost is $50.00 USD plus shipping if it’s outrageous. You are welcome to throw money my way here: http://paypal.me/ShaunMoen and email me your address/information to shaun@dittyjamz.com.

IMG_20160417_152010


The video supports HD. Select it if you have it :)

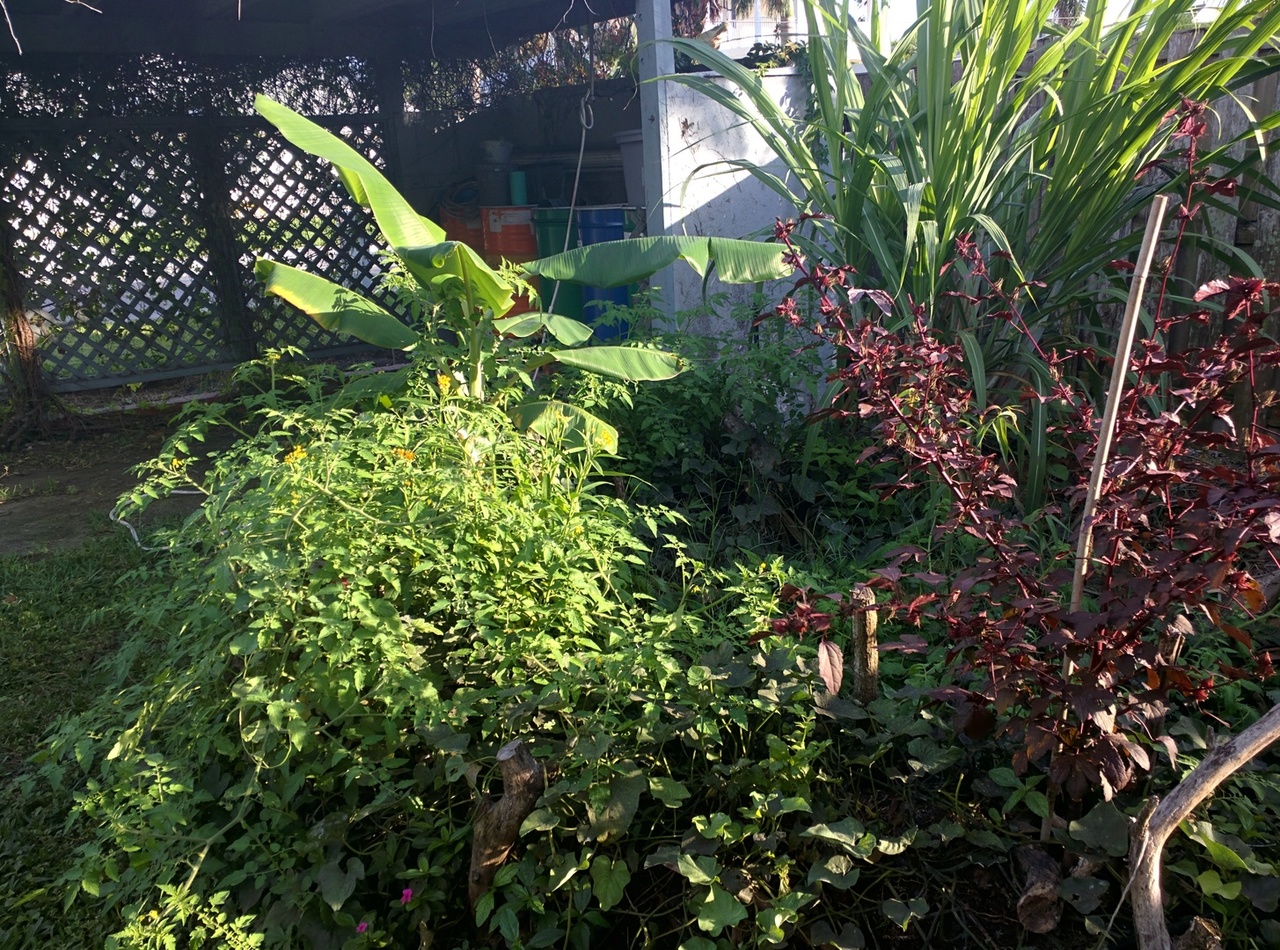
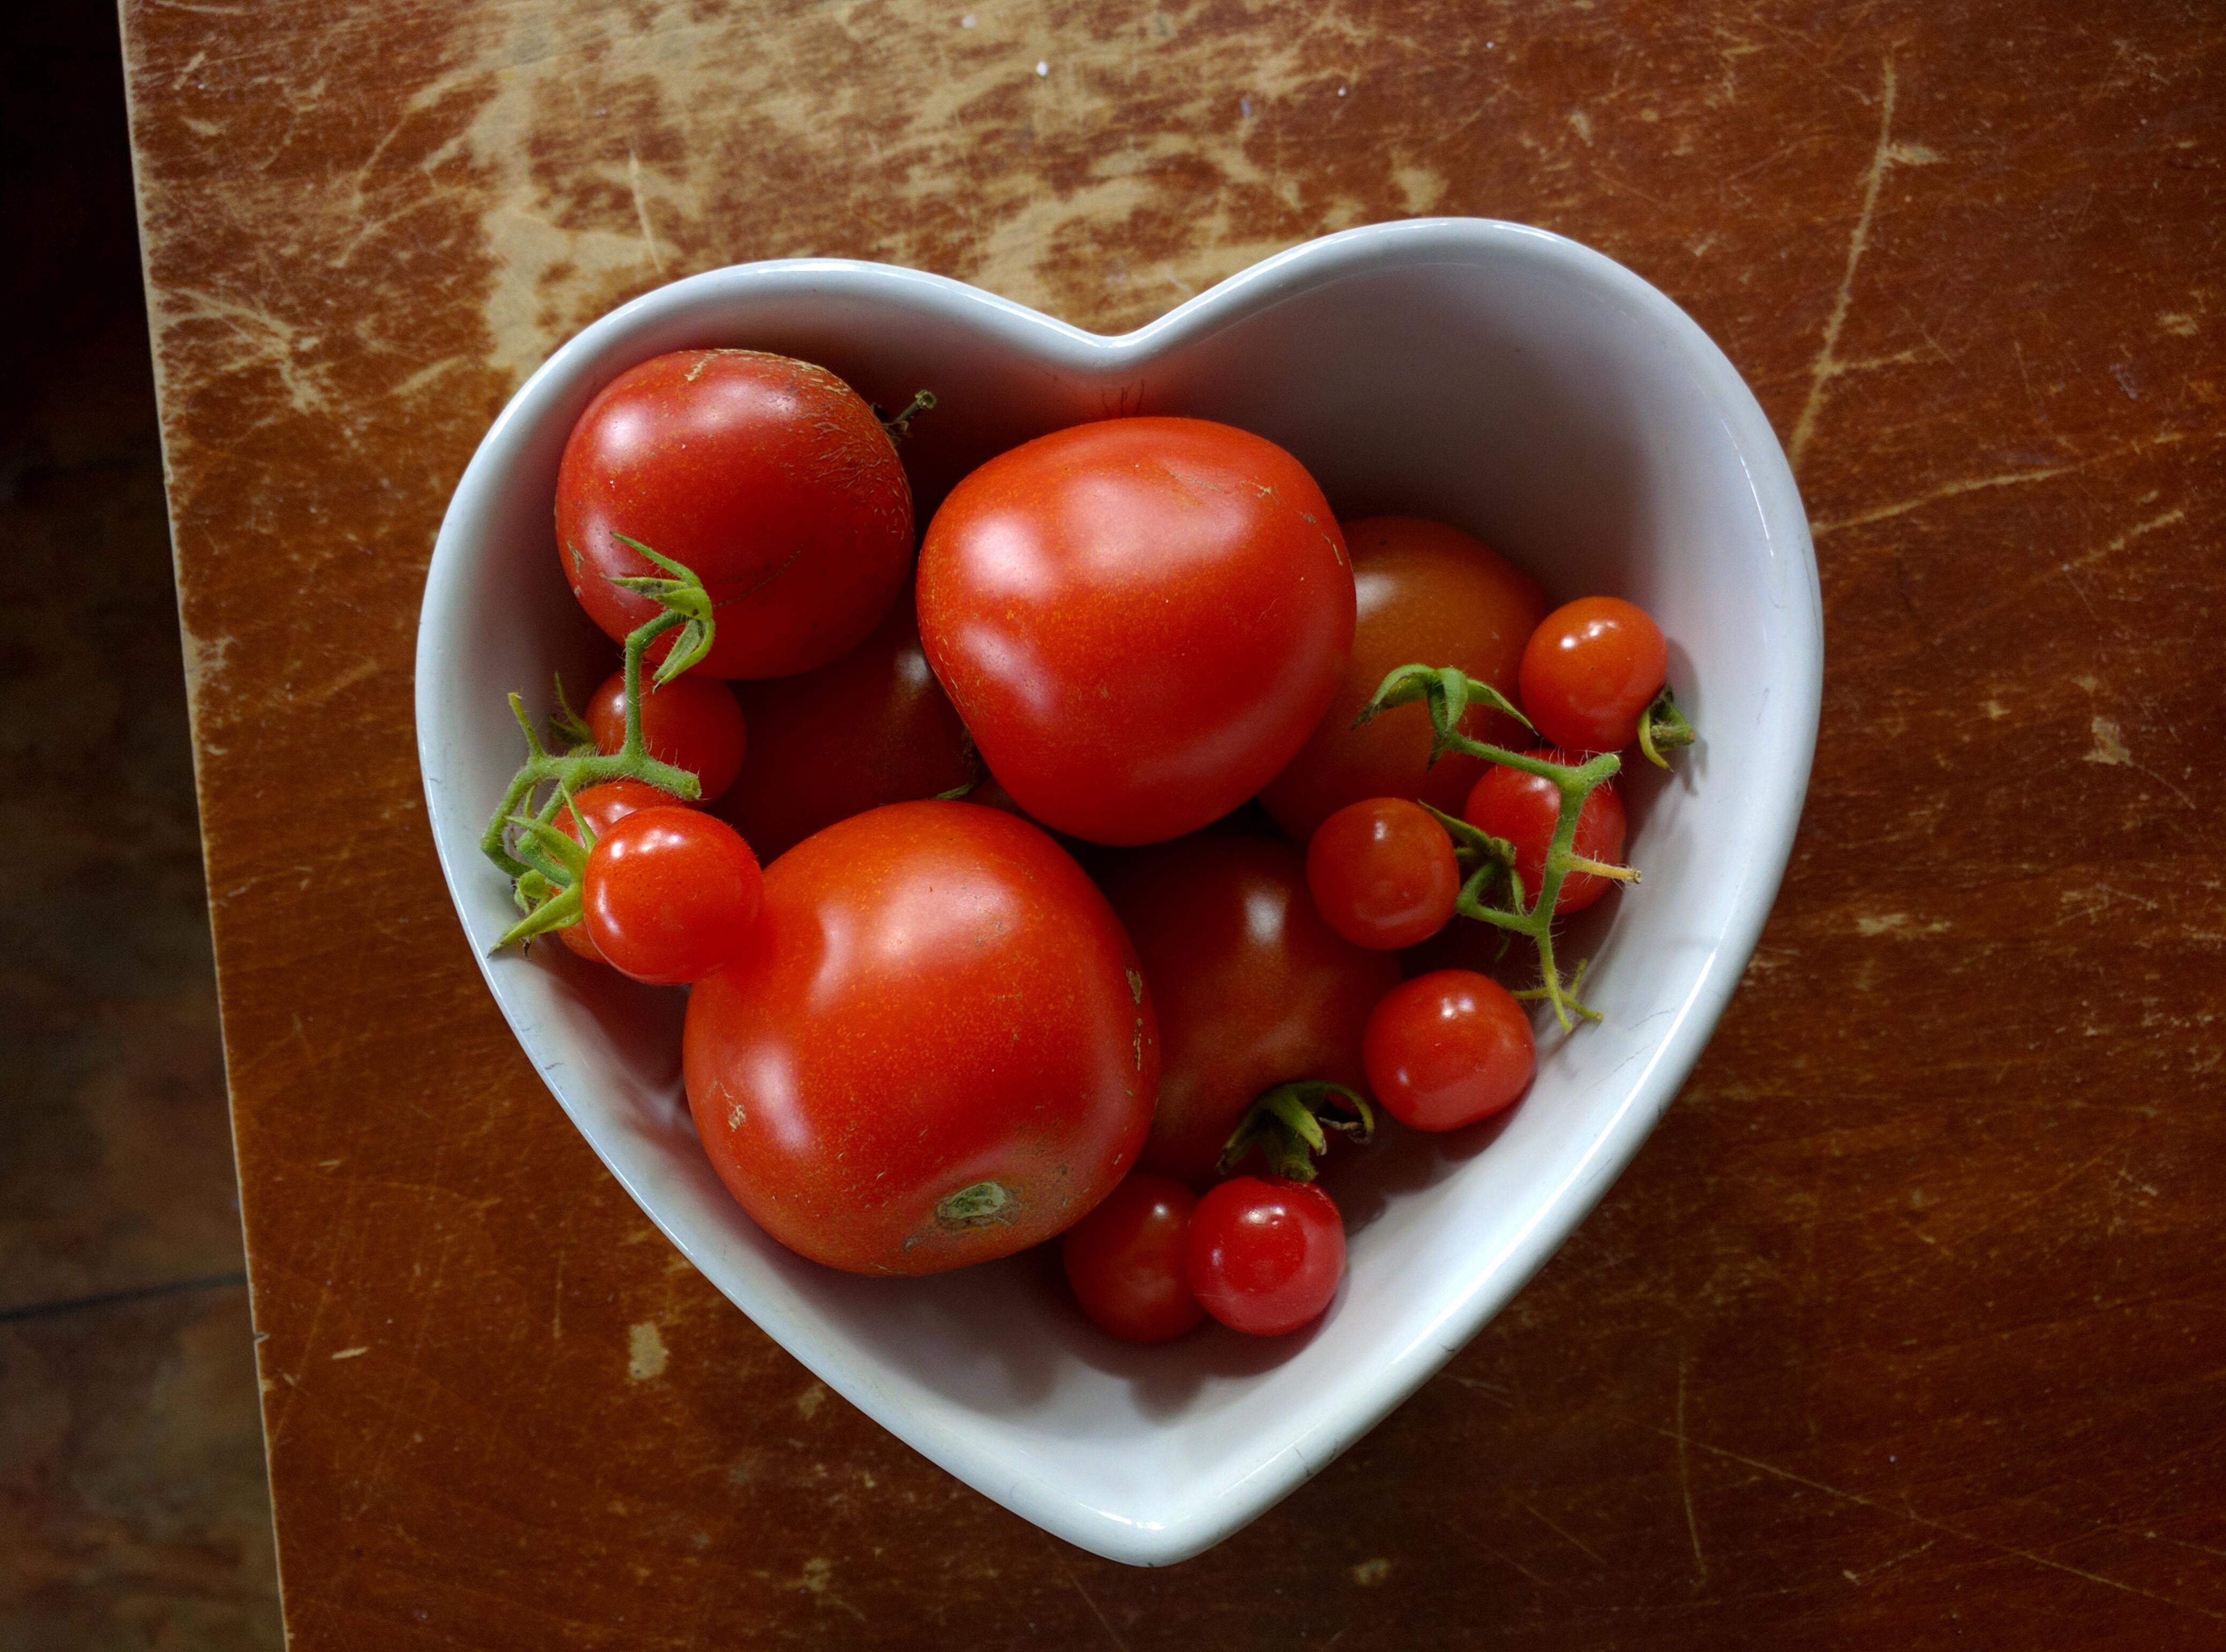
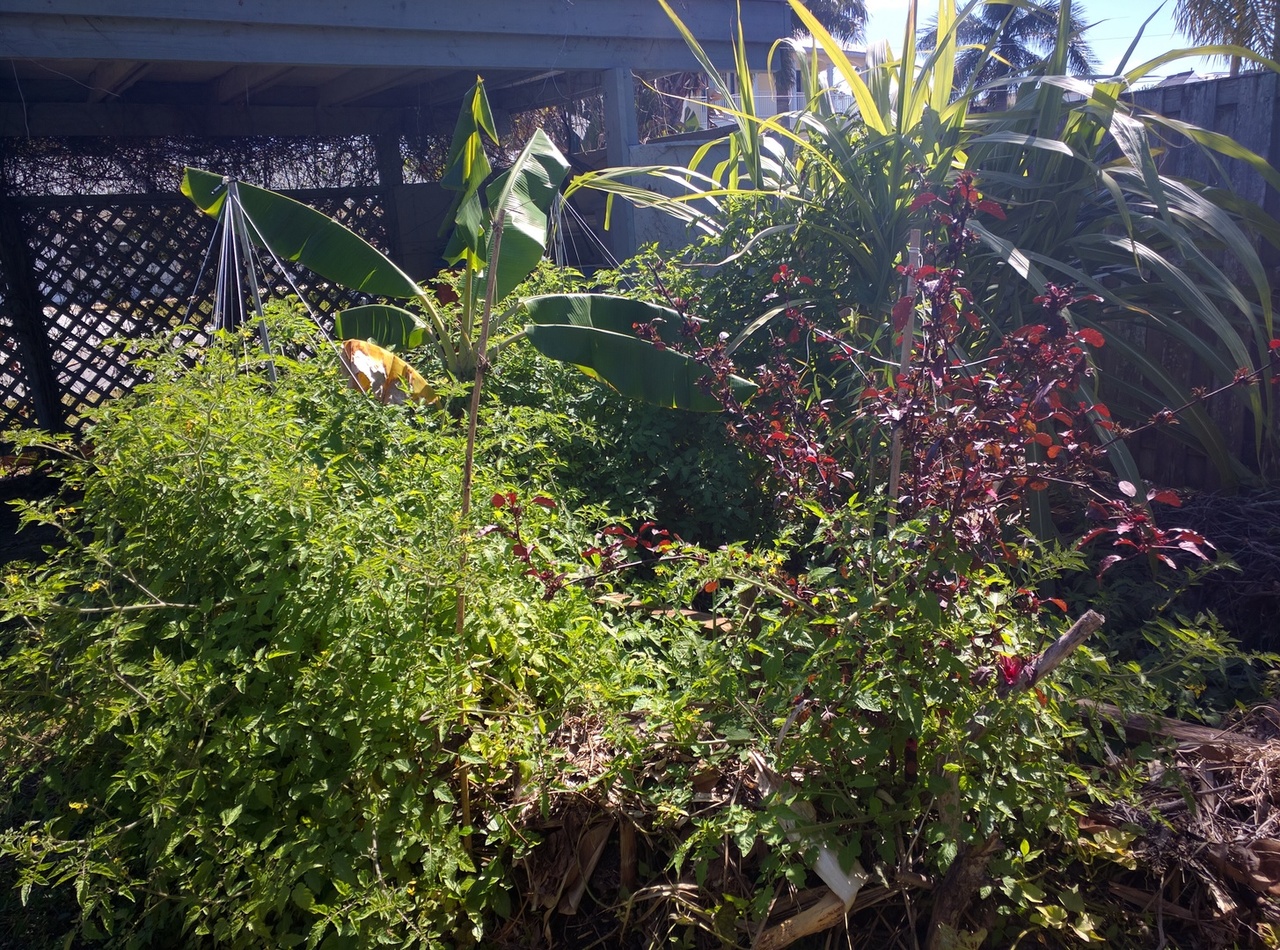
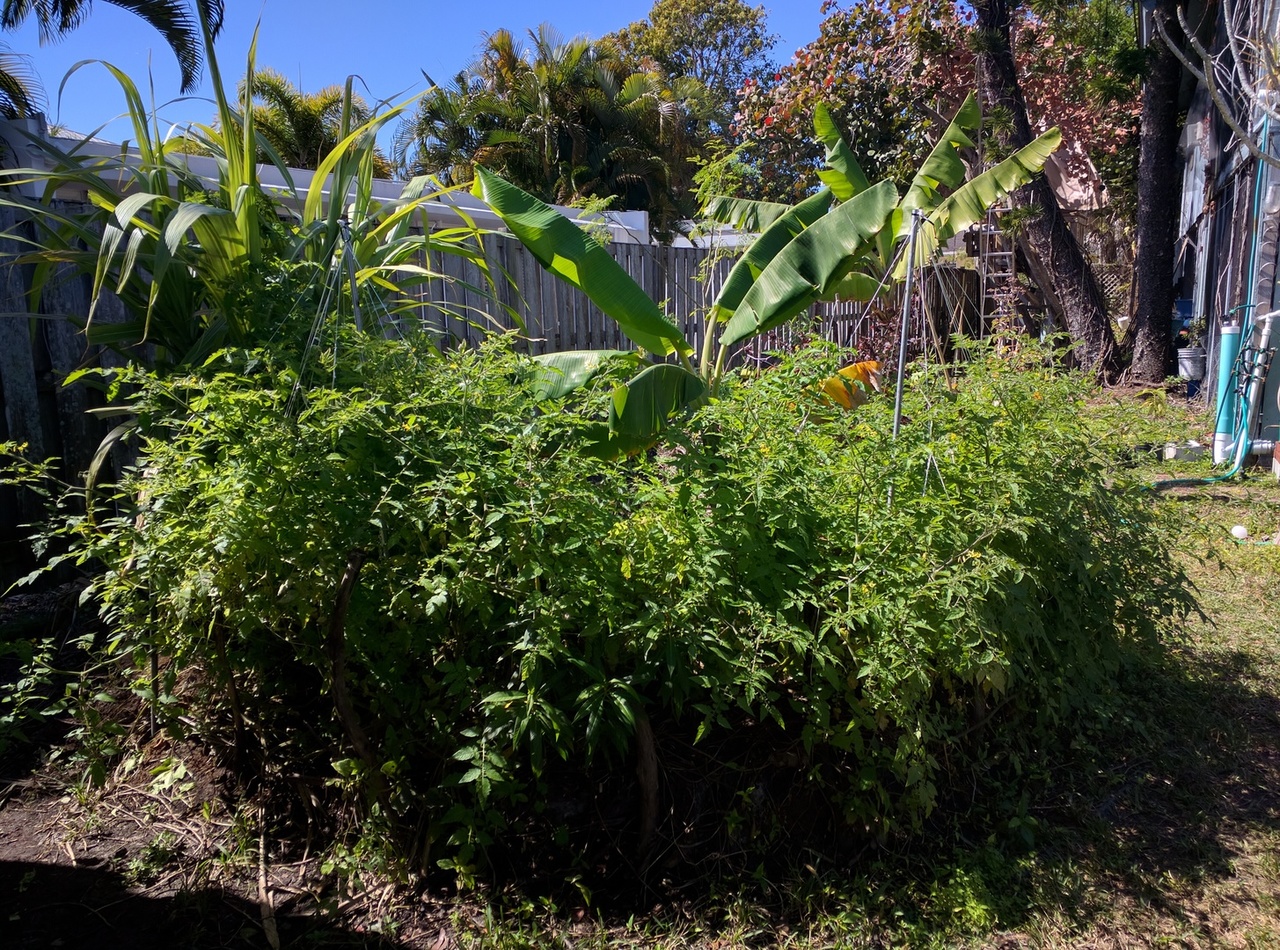
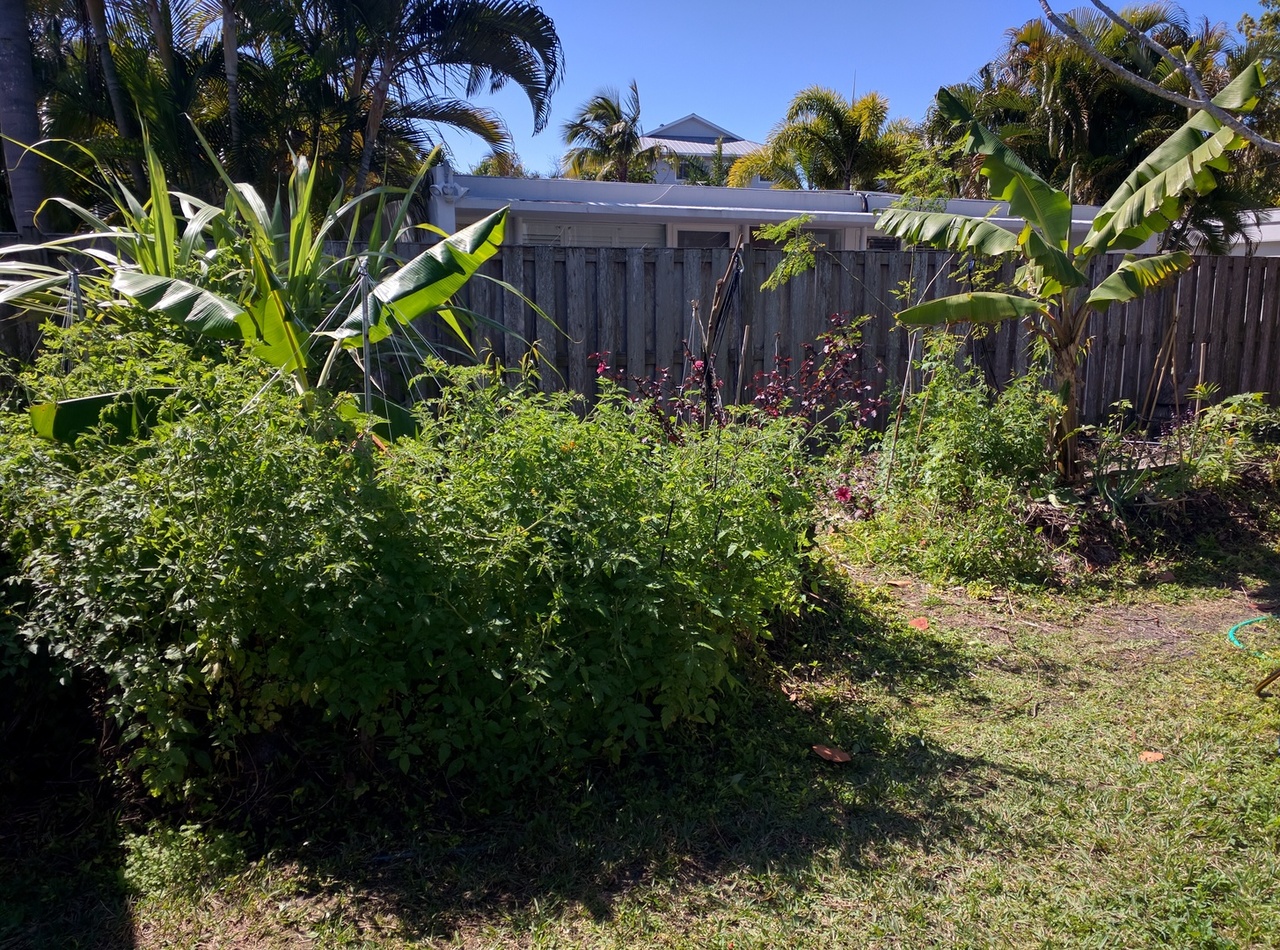
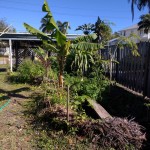
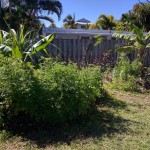
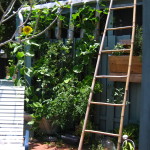
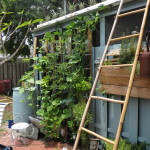
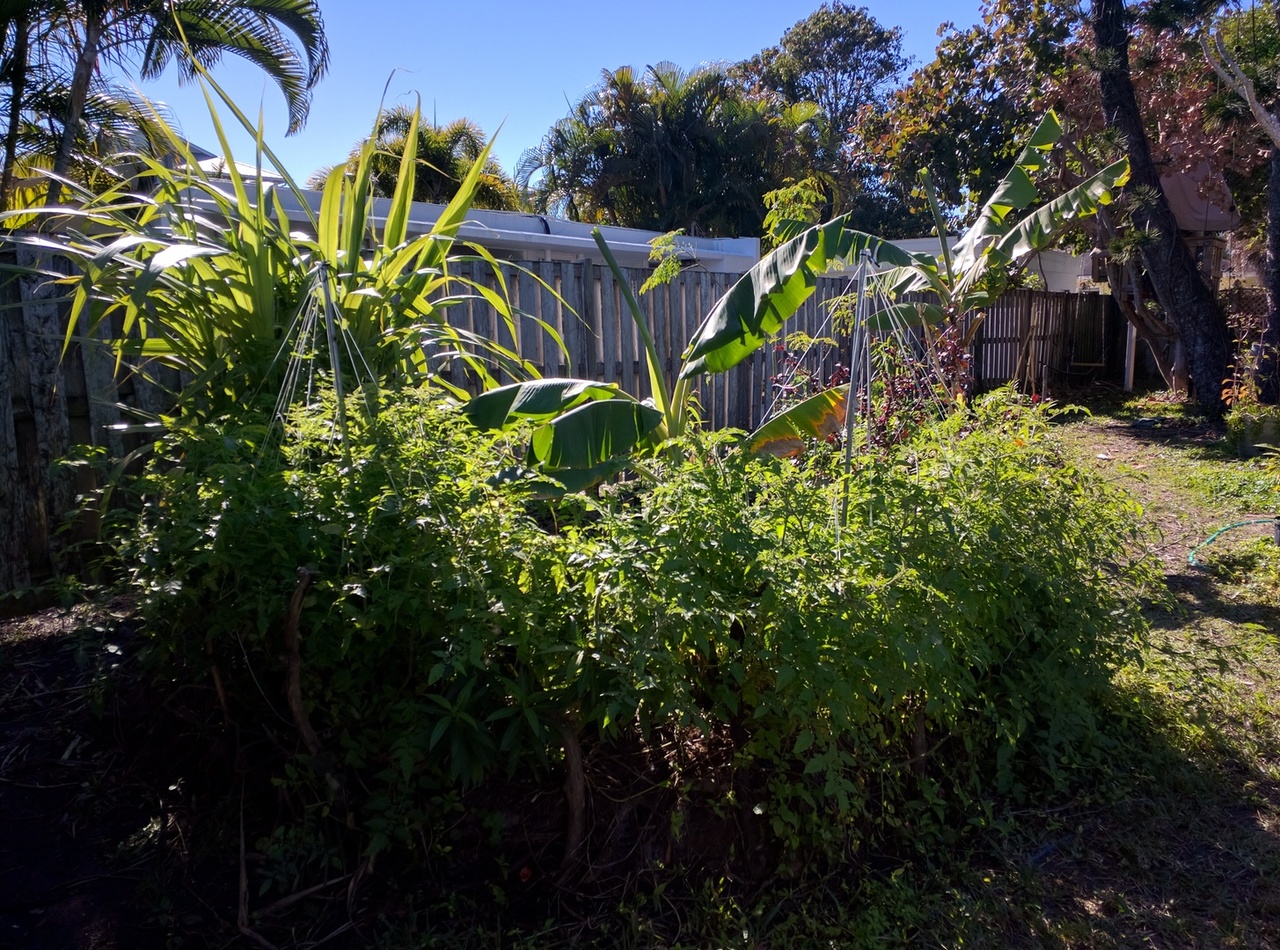
I’m currently growing Florida Everglades tomatoes which I let grow a bit too long without any supports. At first I ran some lines horizontal and tried to prop them up by hand.  It worked, but I ended up breaking a few branches which I didn’t like.  After some thought, I came up the idea shown in the video.

As a bonus, I was able to use some old music of mine for a sound track.

This idea hasn’t stood the test of time yet but here’s my thinking for benefits:

* Flexibility and reach
* Adjustability
* Reusability
* Small foot print
* Quick strapping and release

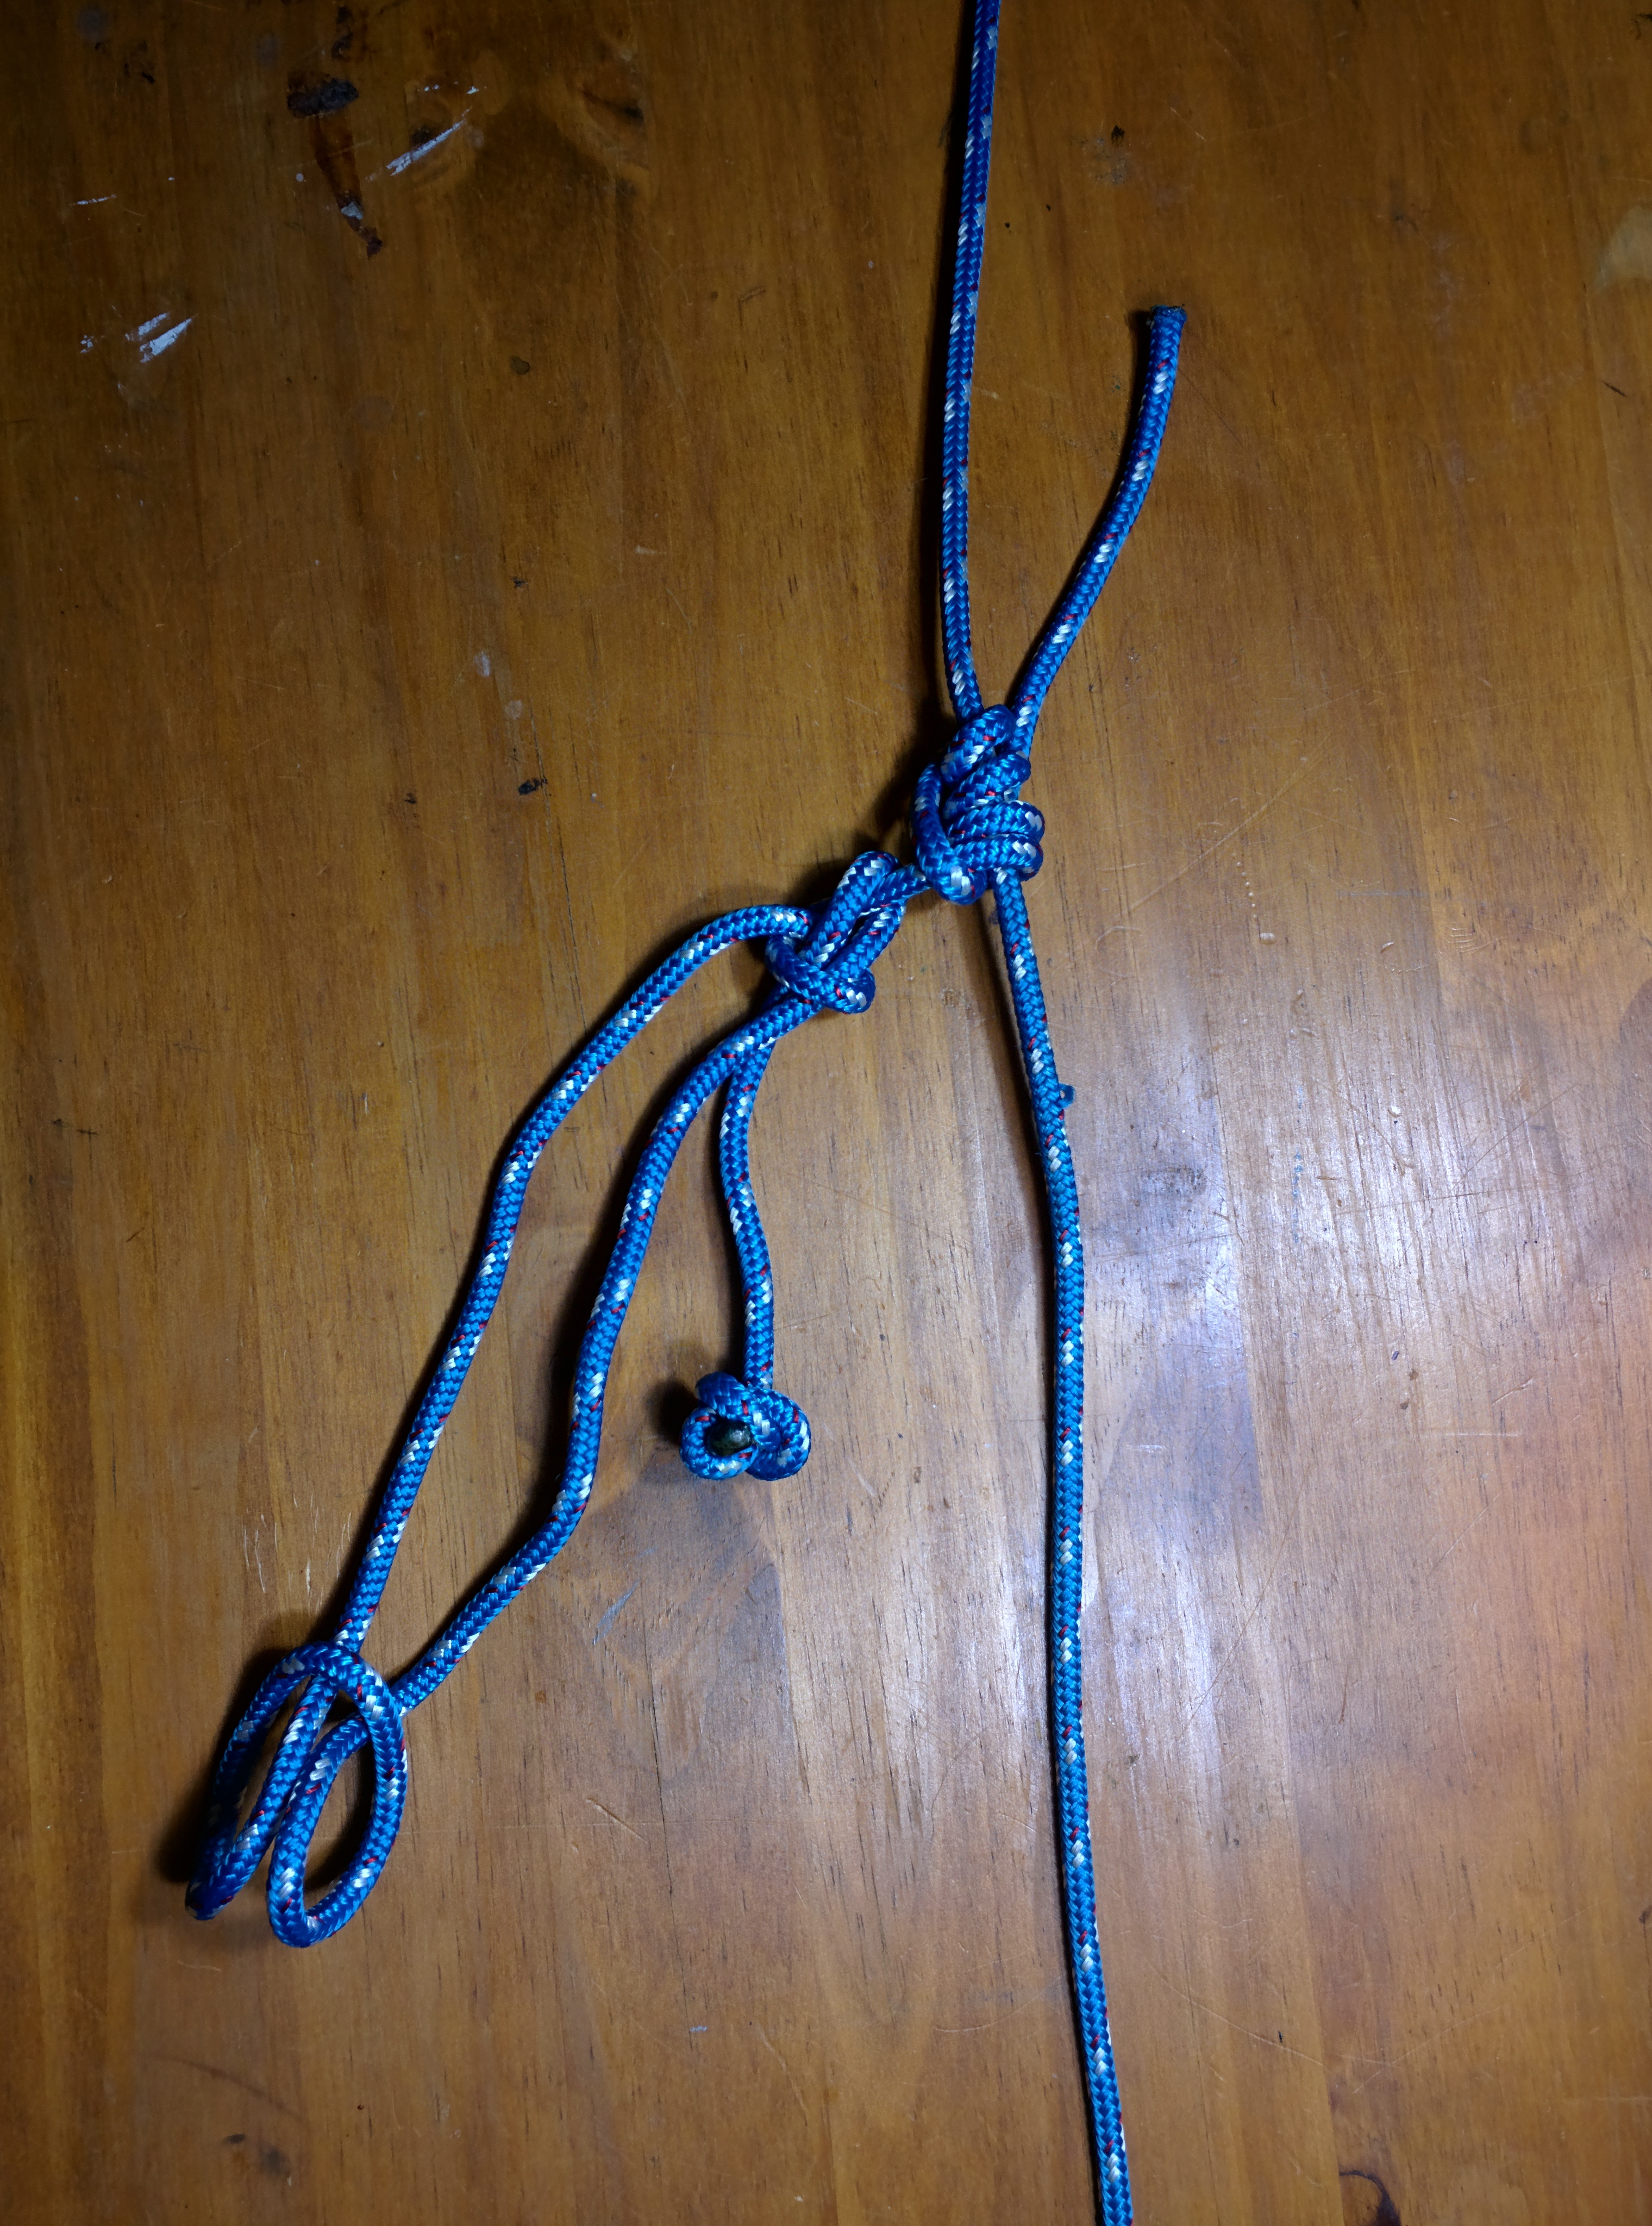
Sliding hitch and Shackle tied in larger rope

Here are some interesting links:
https://m.youtube.com/watch?v=BxxLD1TT4NI

Hose Stand

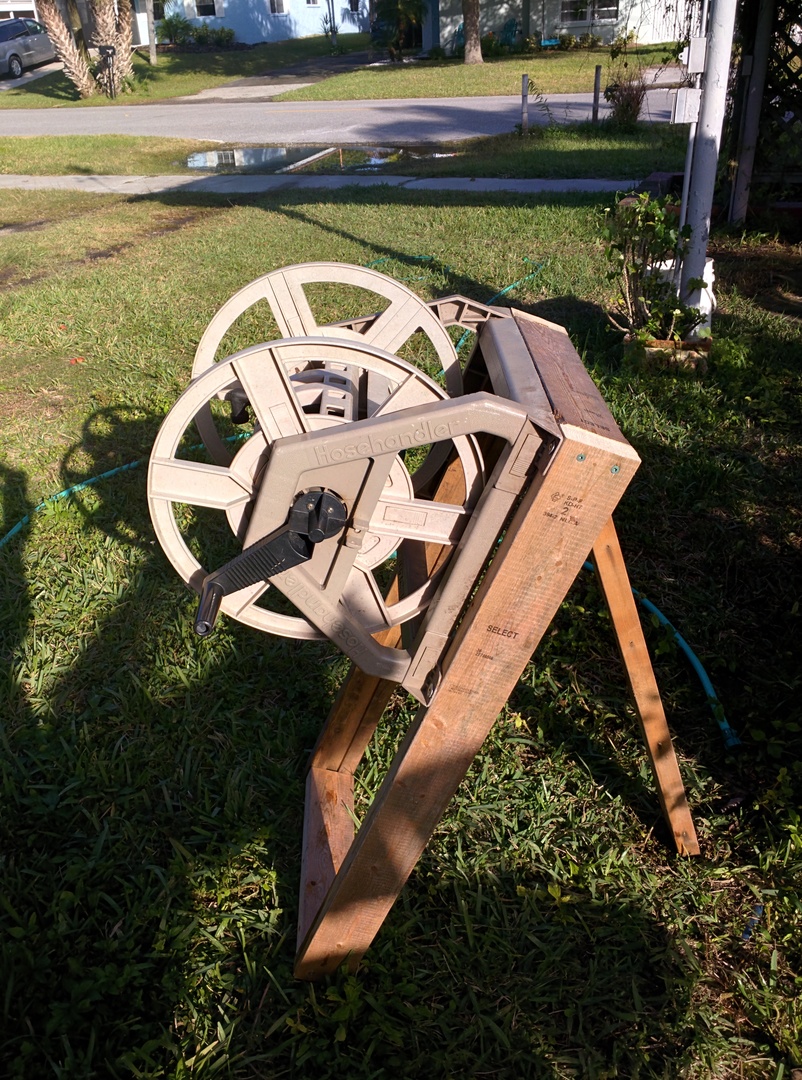
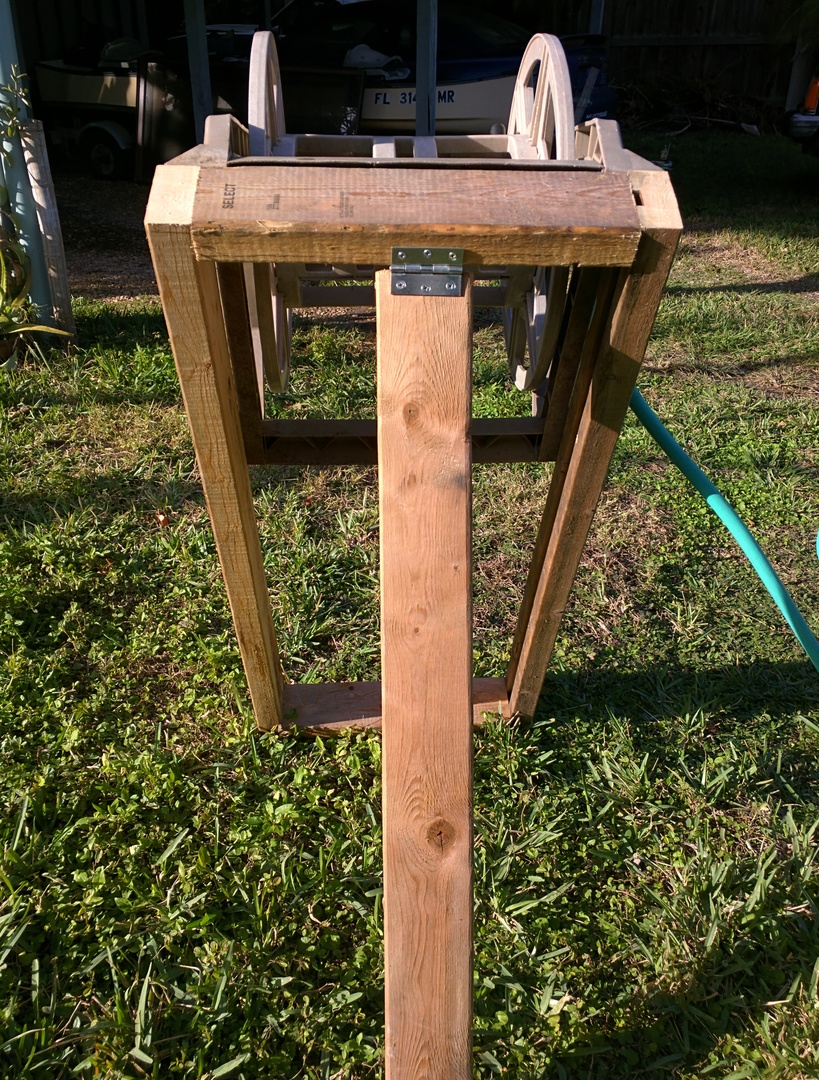
This hose reel had been laying in our yard for years; not sure who’s it was, or how it got here, but I made stand for it and put it to use.  The water that comes out of this hose is rainwater and is pressurized using gravity to near 15 PSI. I climbed a tree to accomplish this. More info in other posts.
IMG_20160115_155715
IMG_20160115_155801


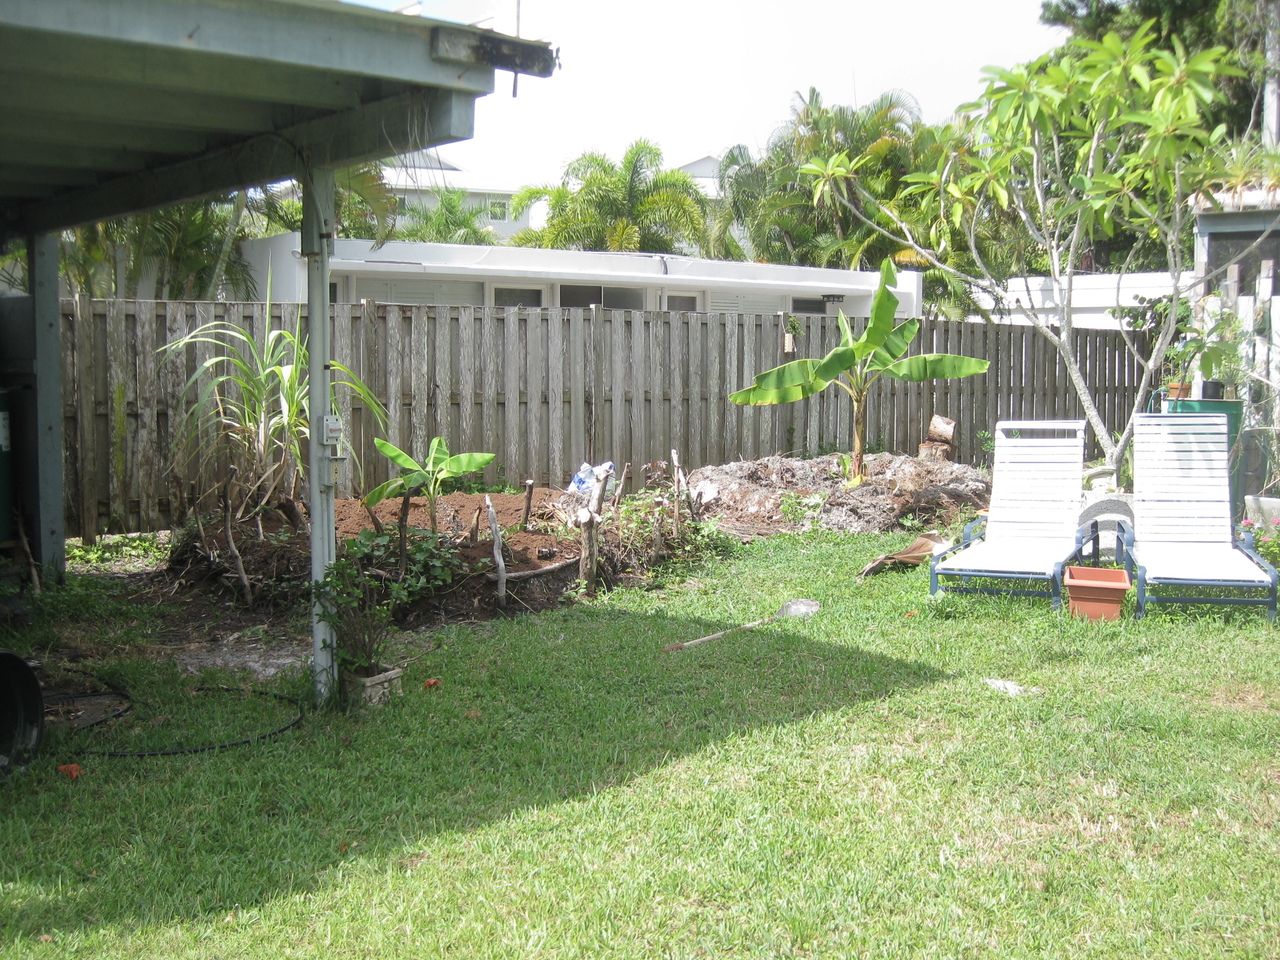
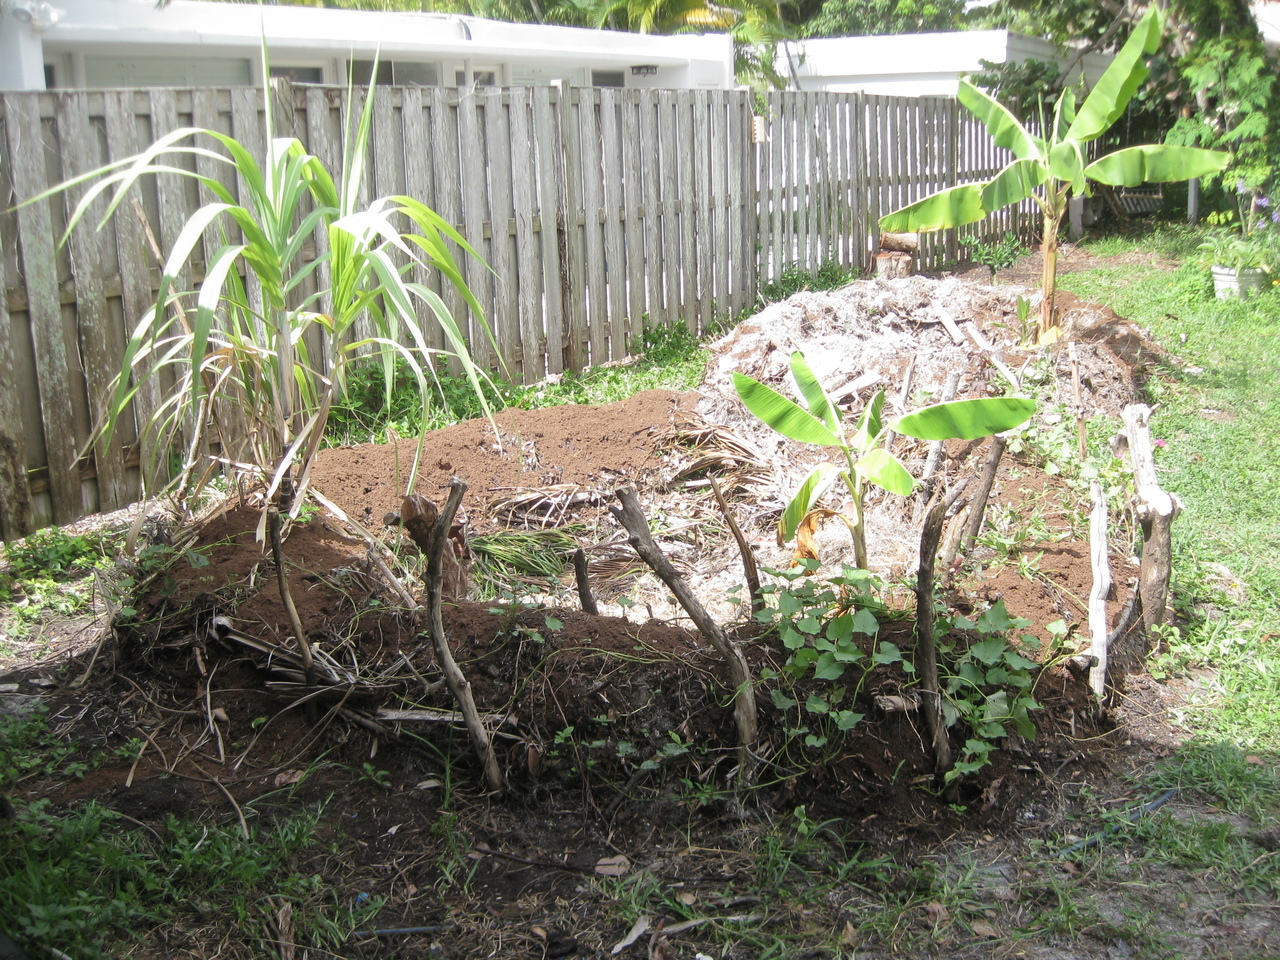
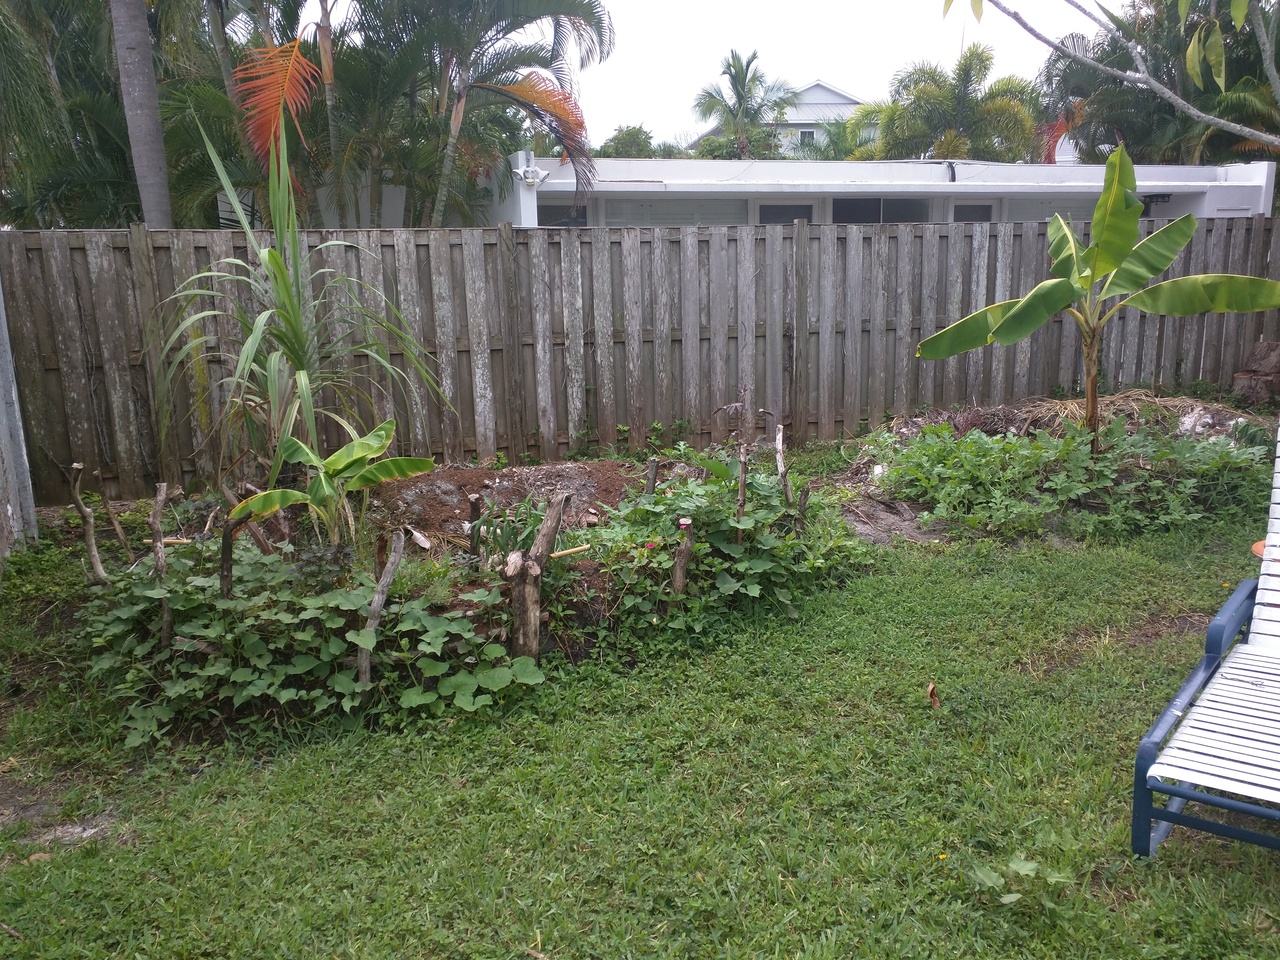
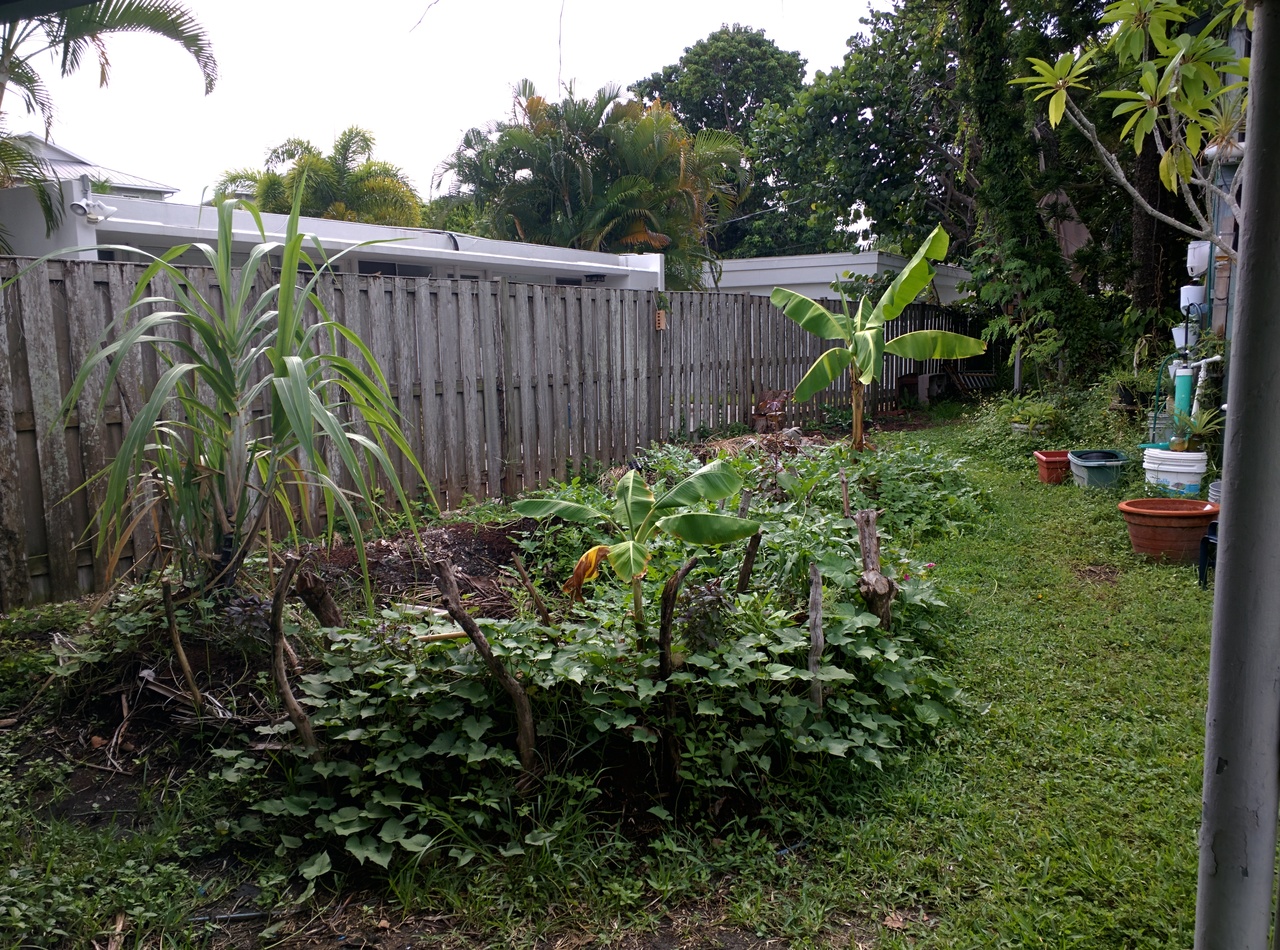
My First Hugelkultur Bed


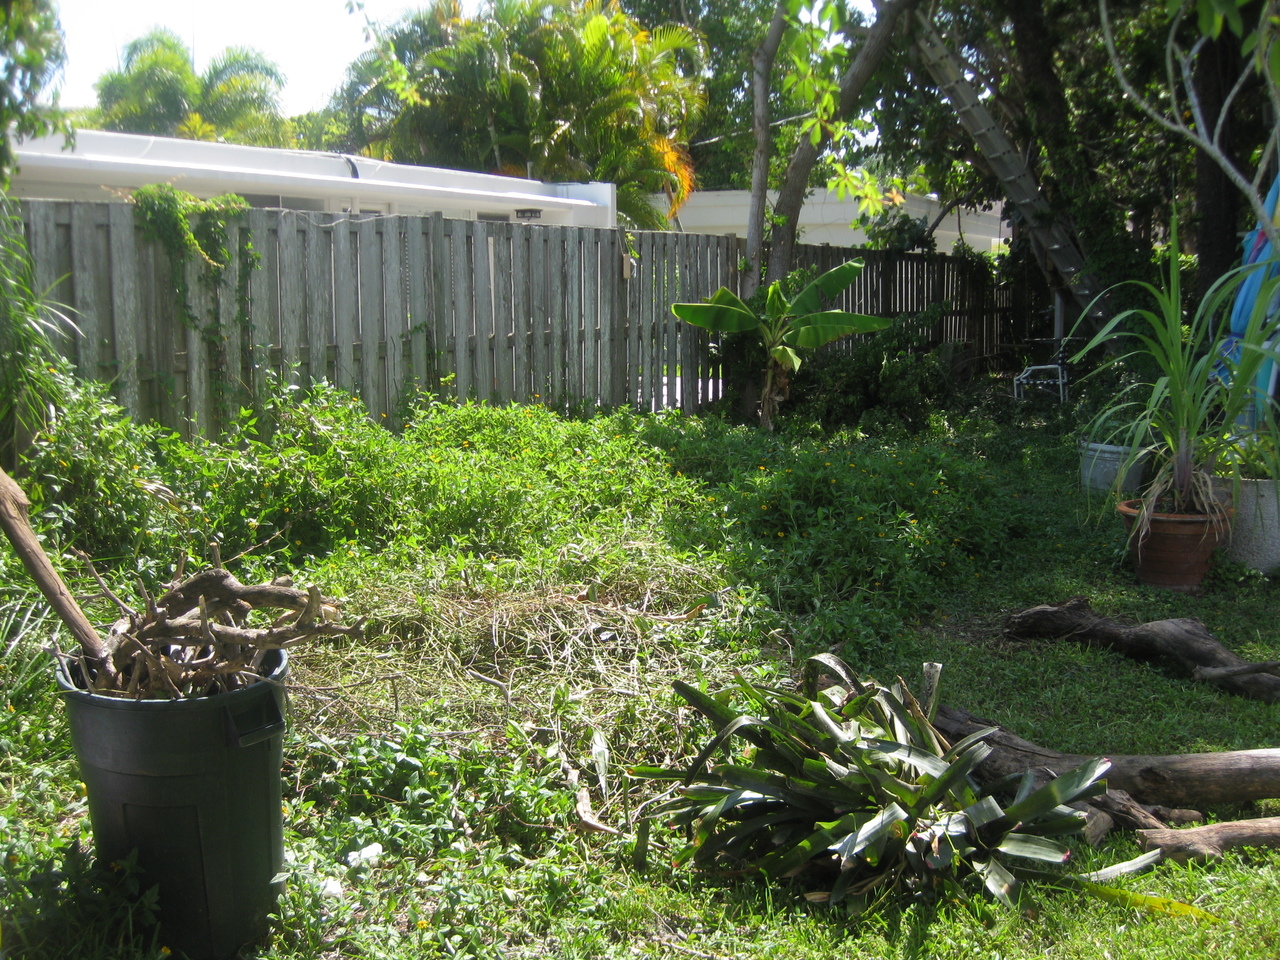
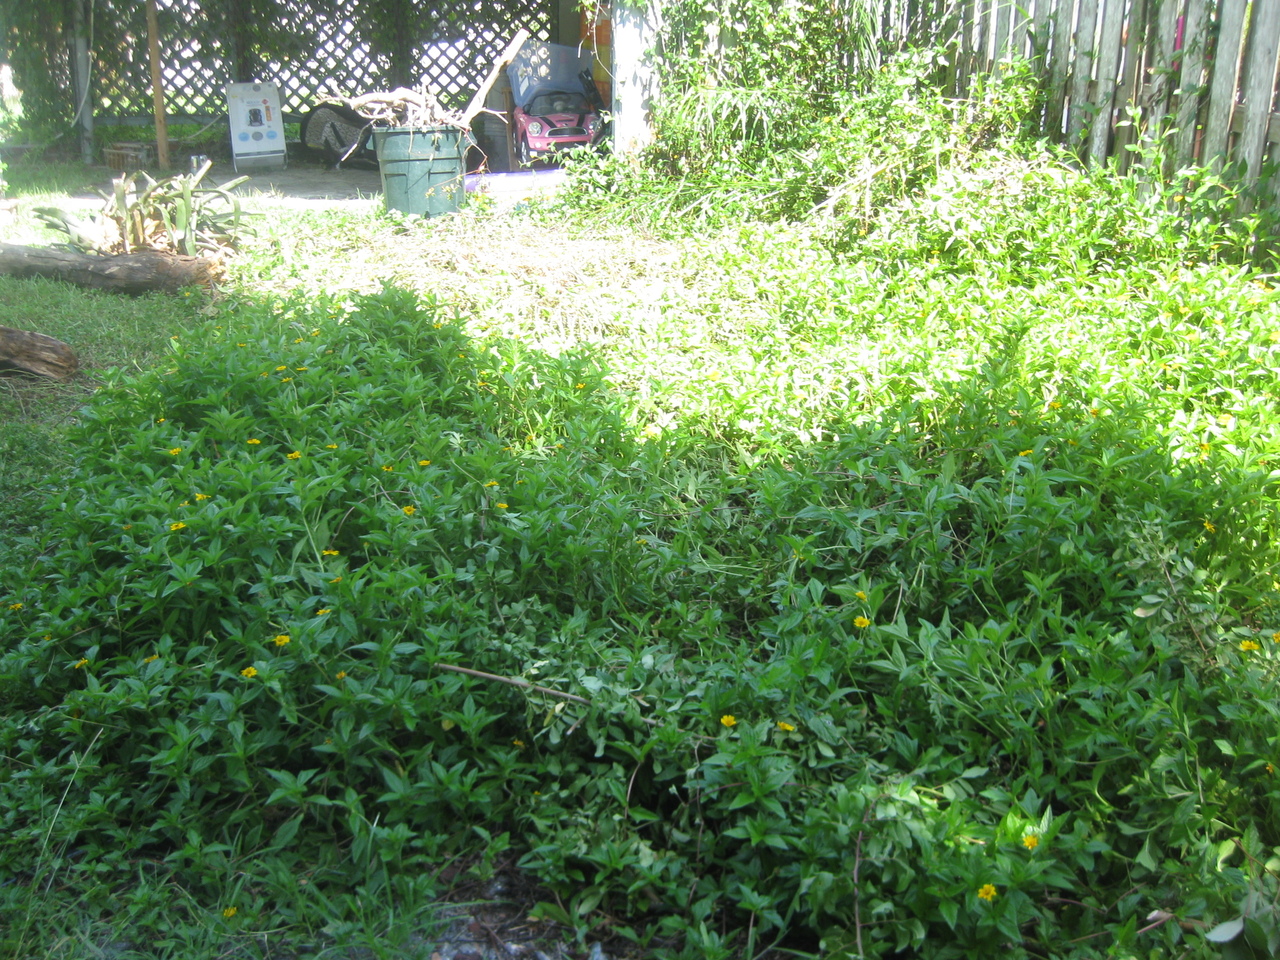
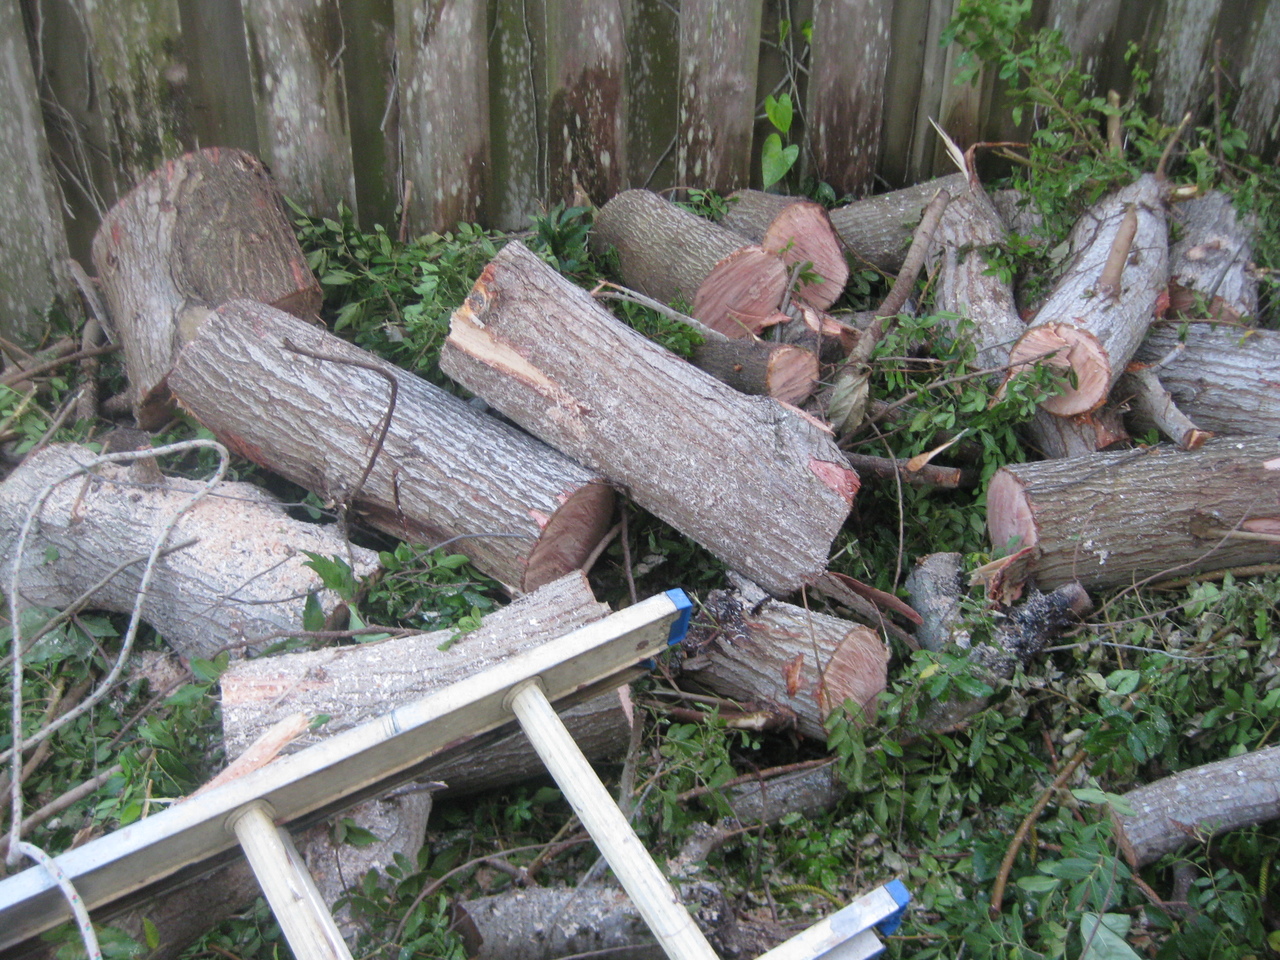
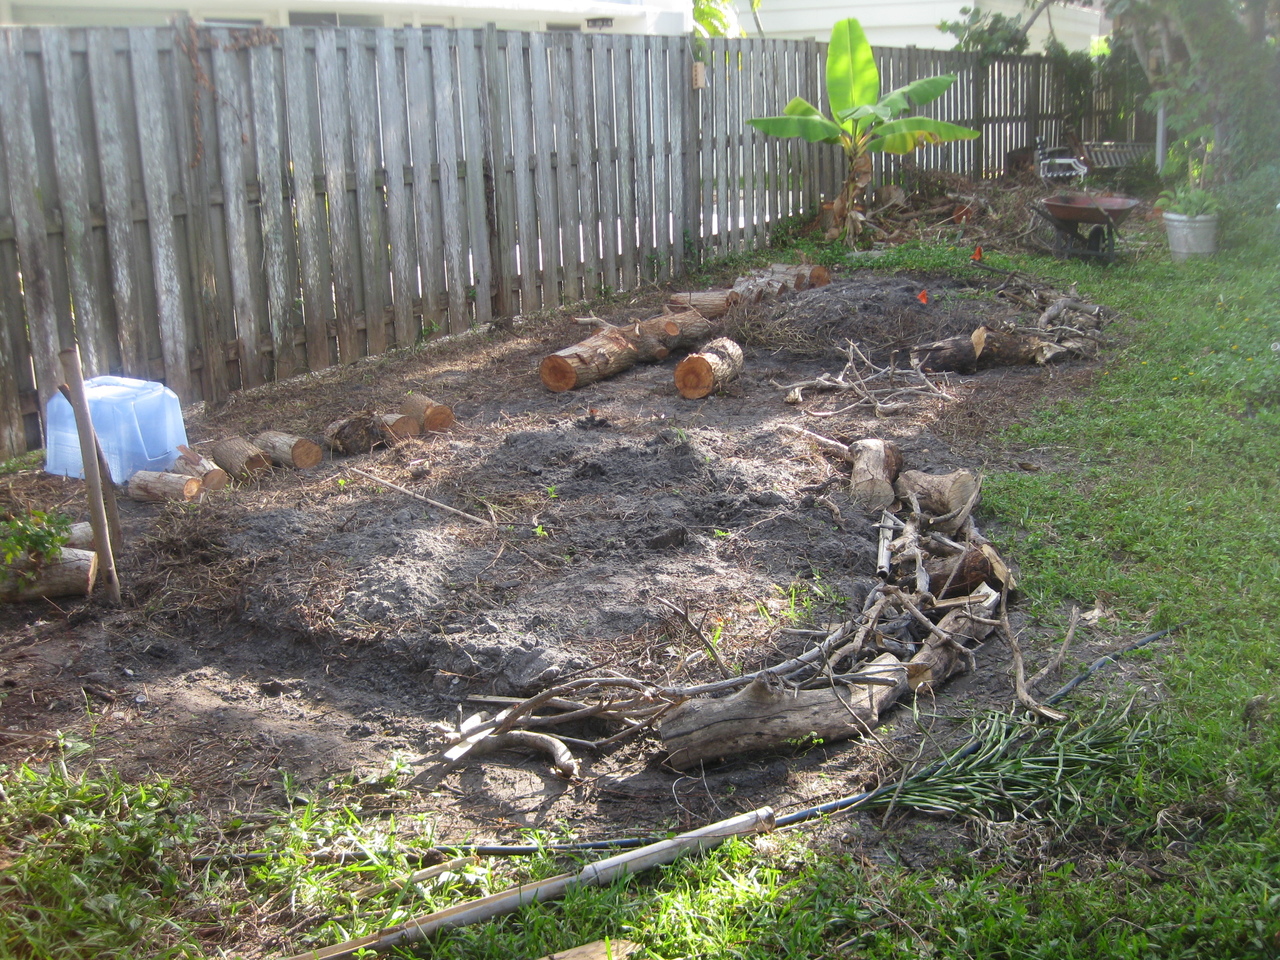
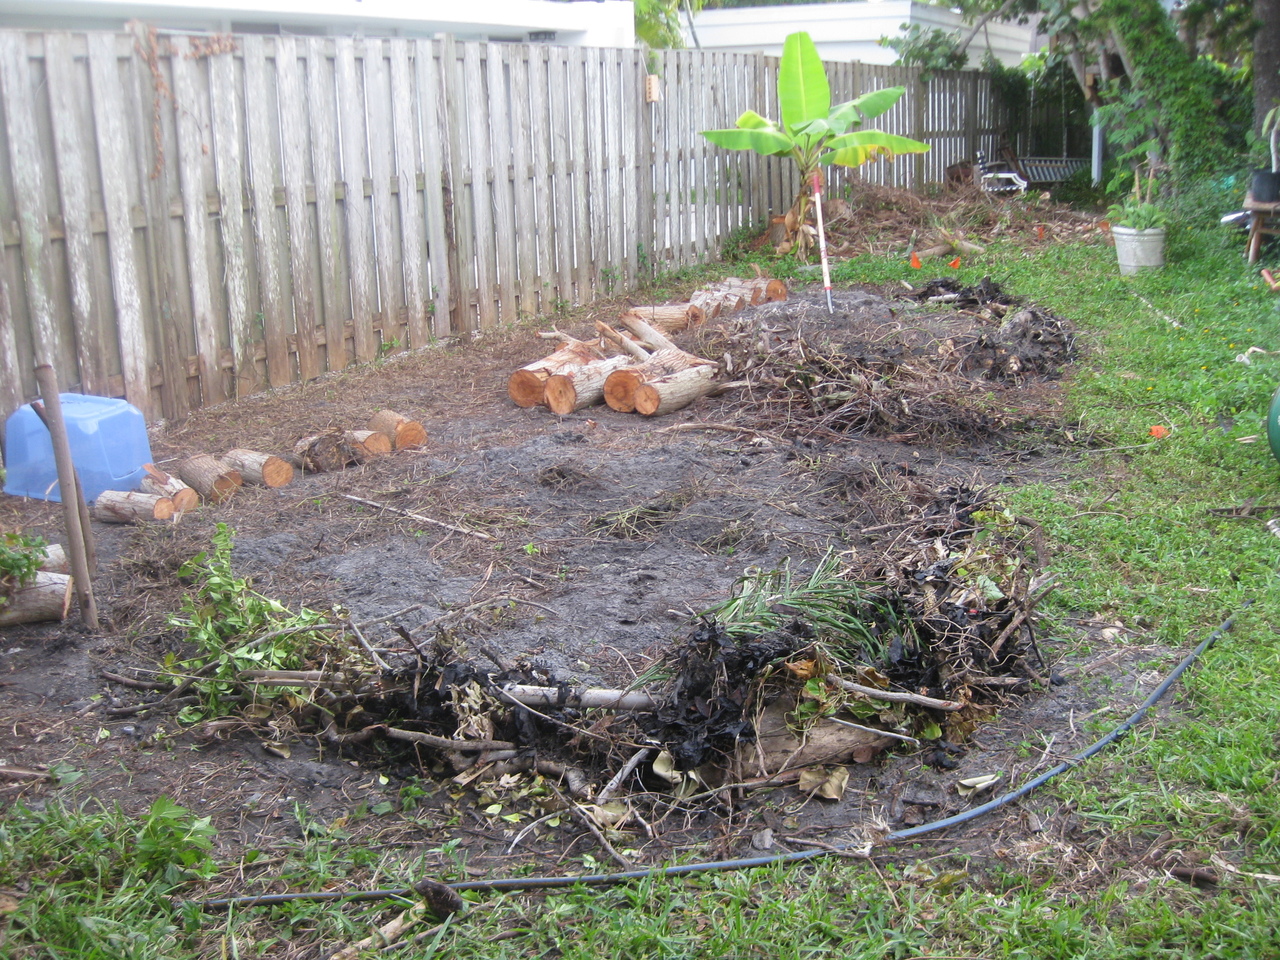
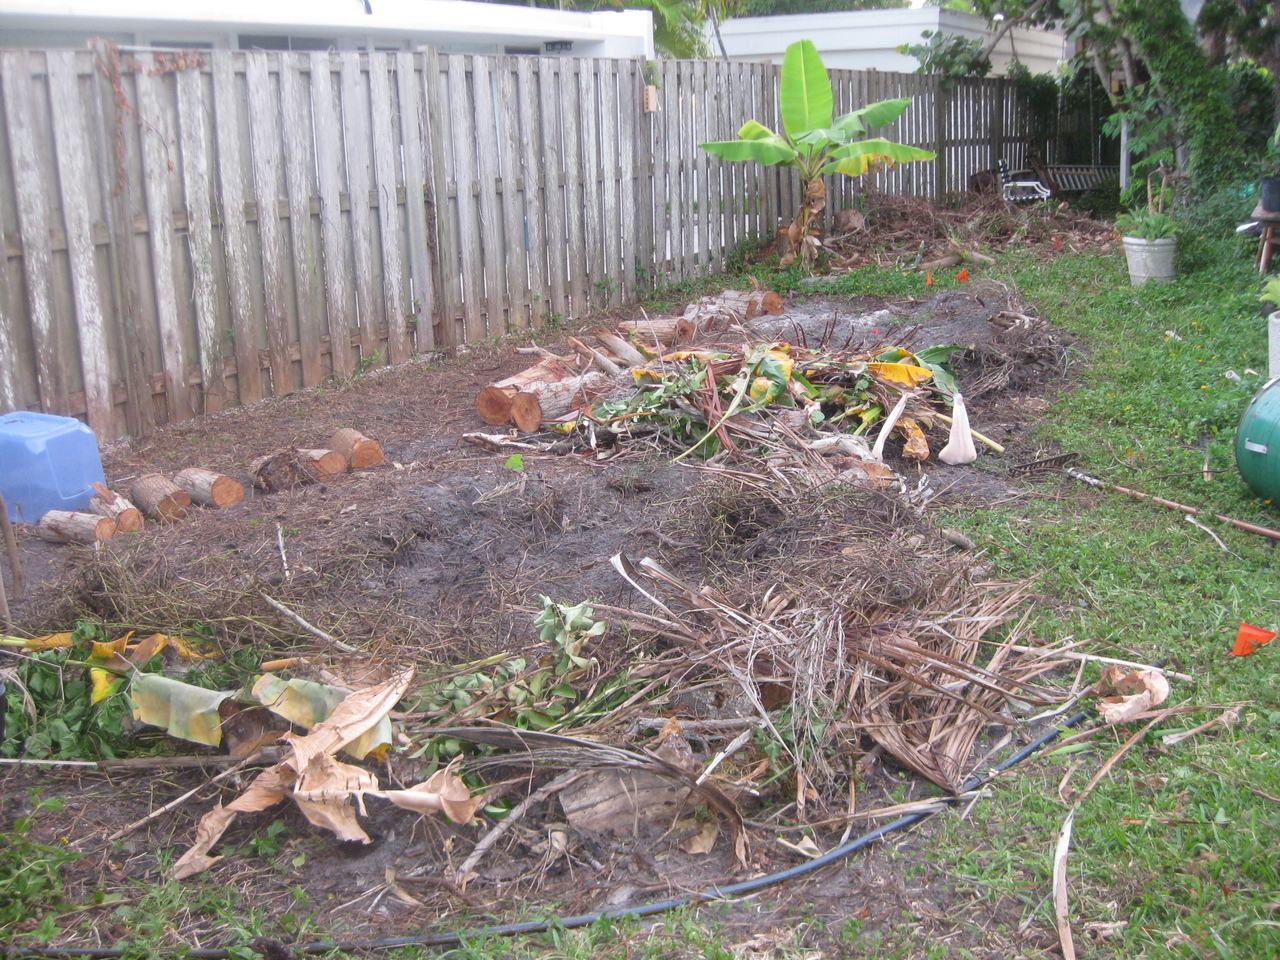
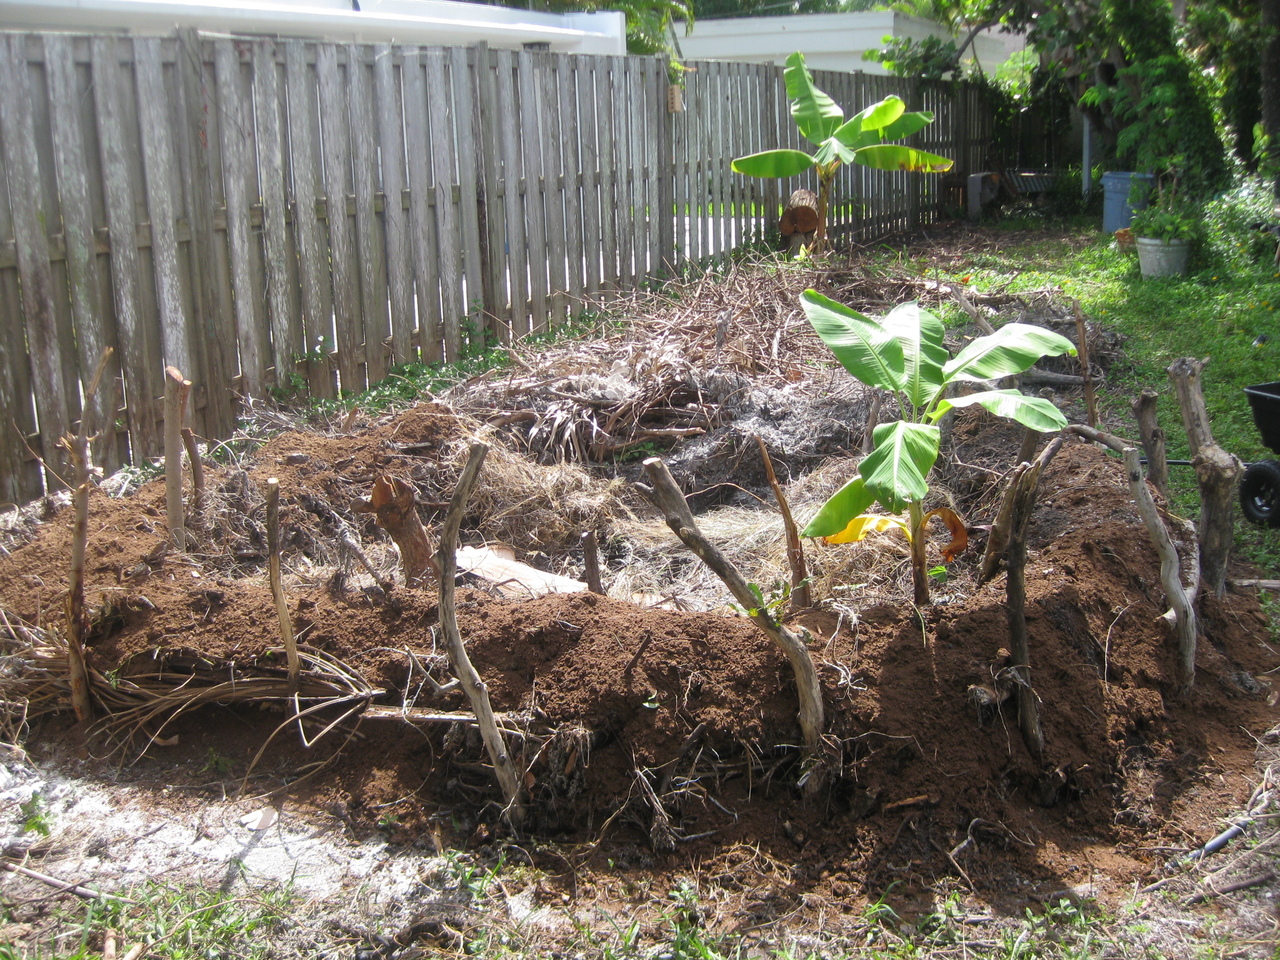
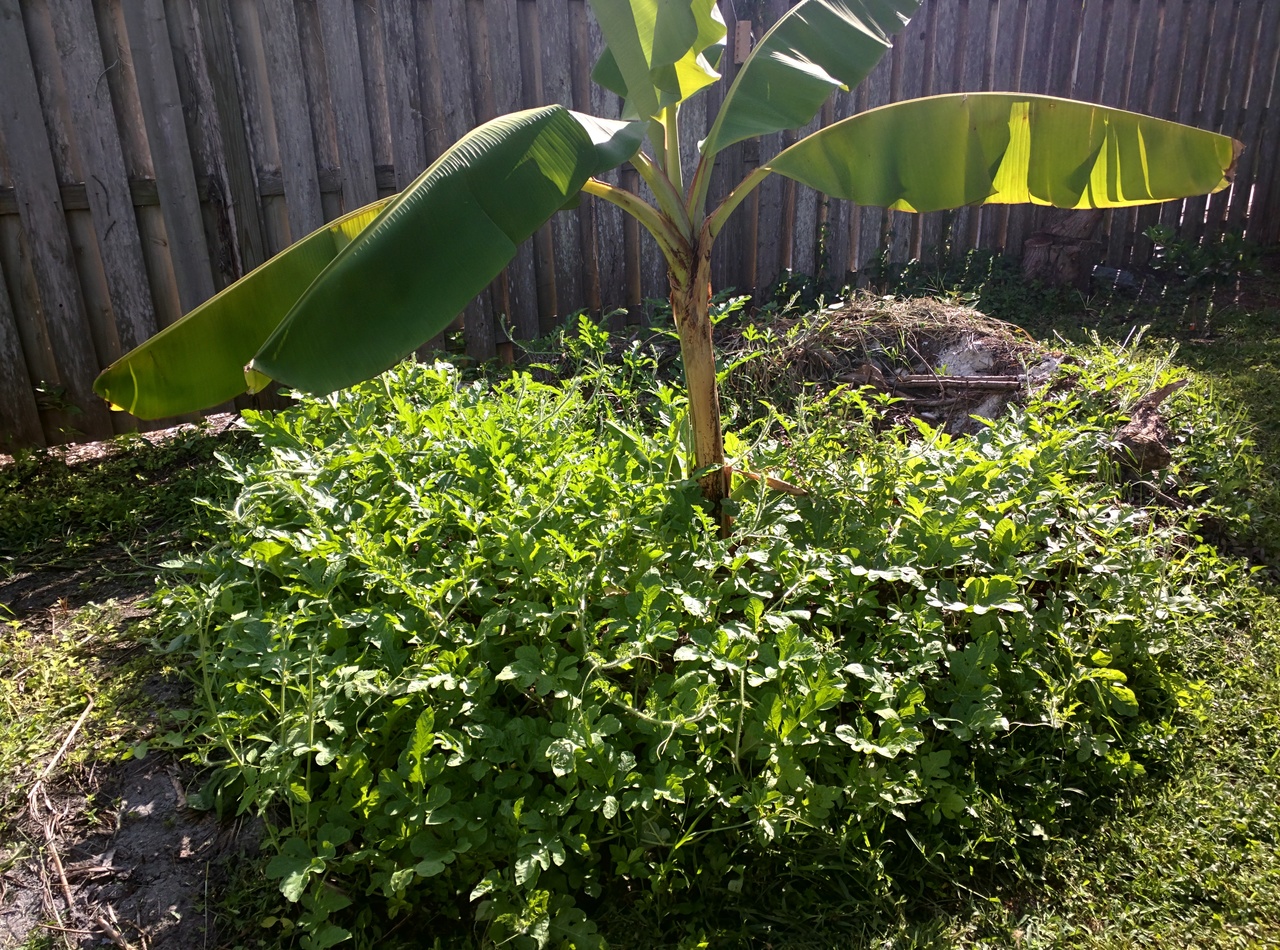
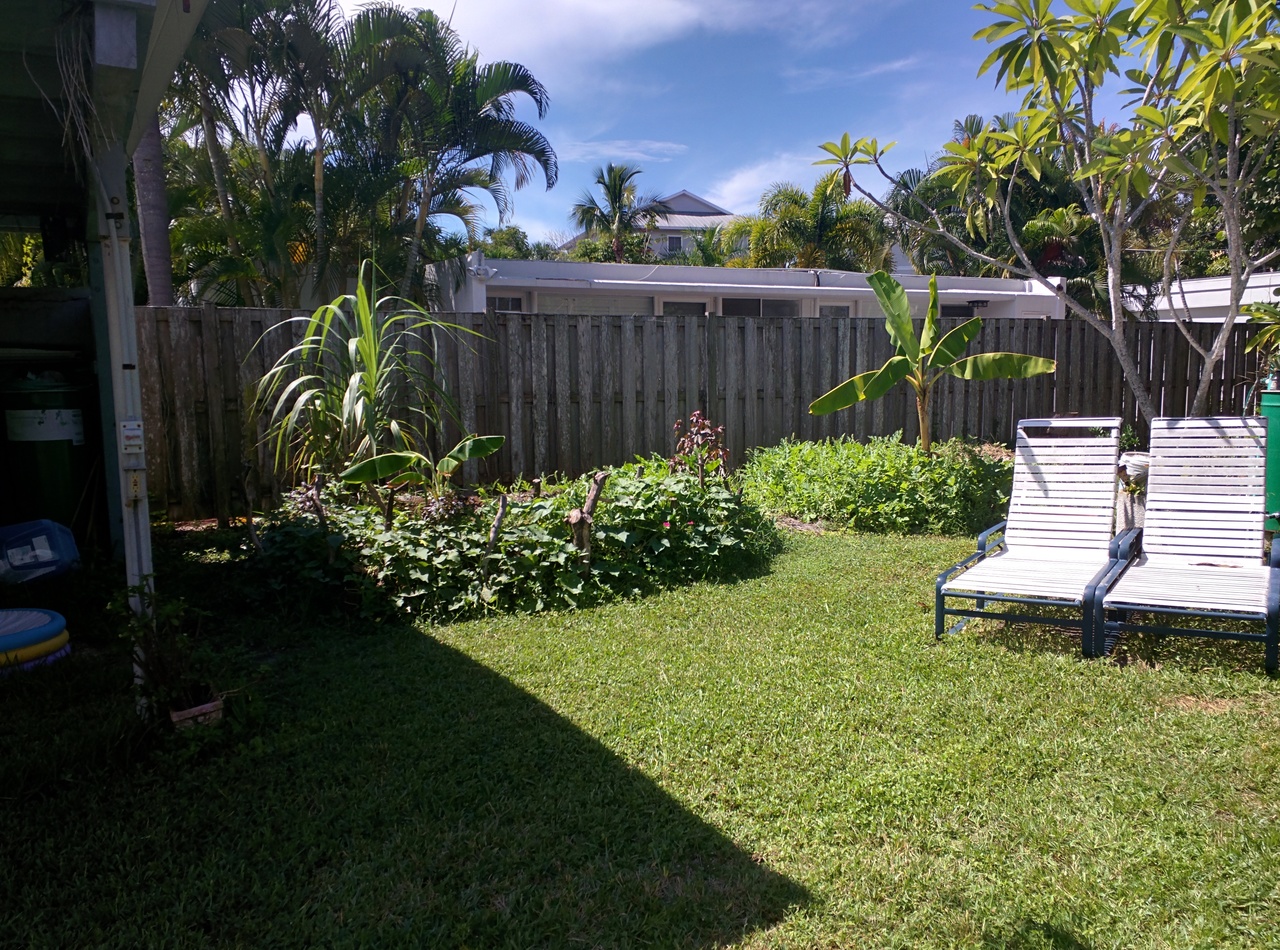
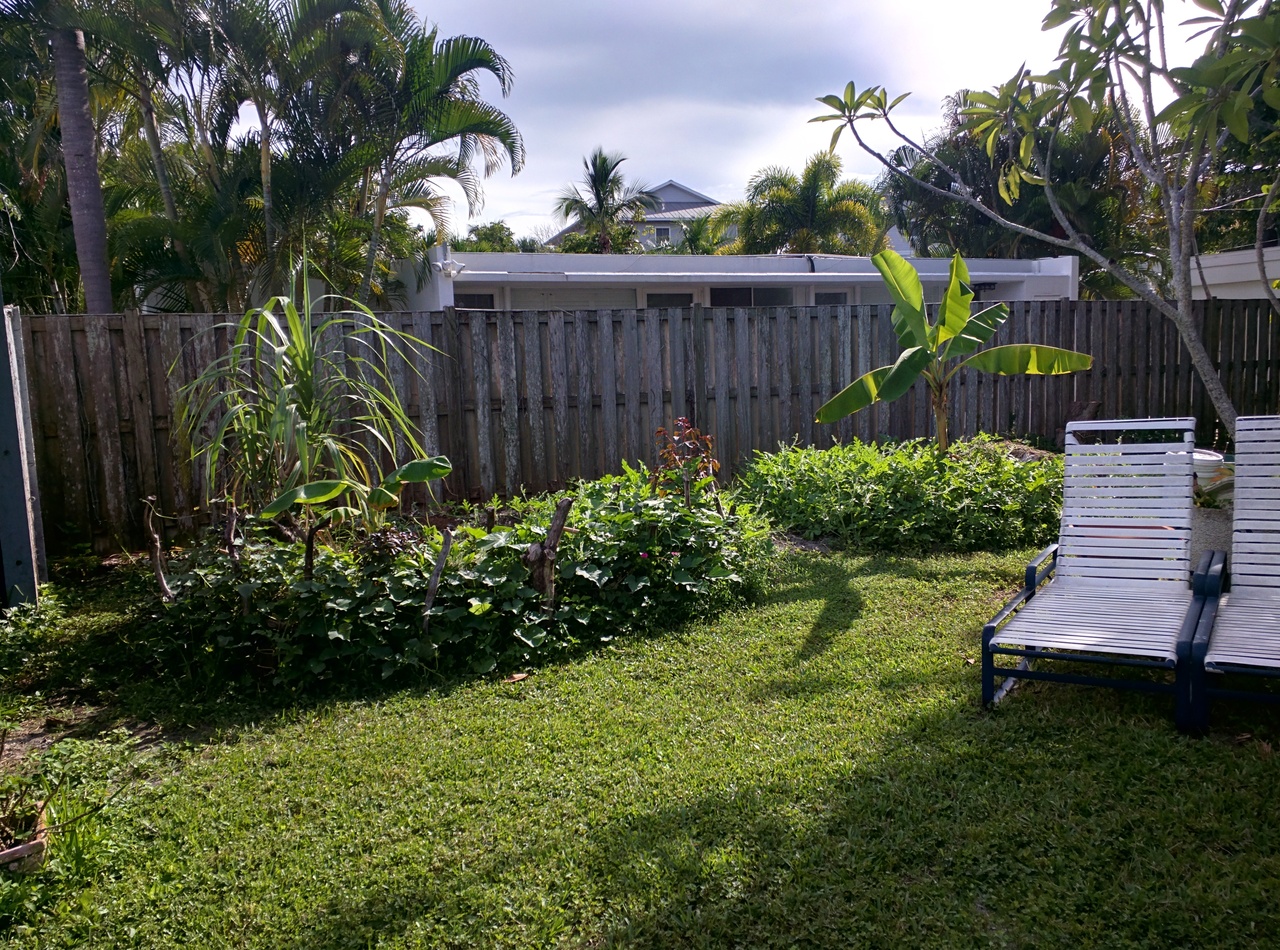
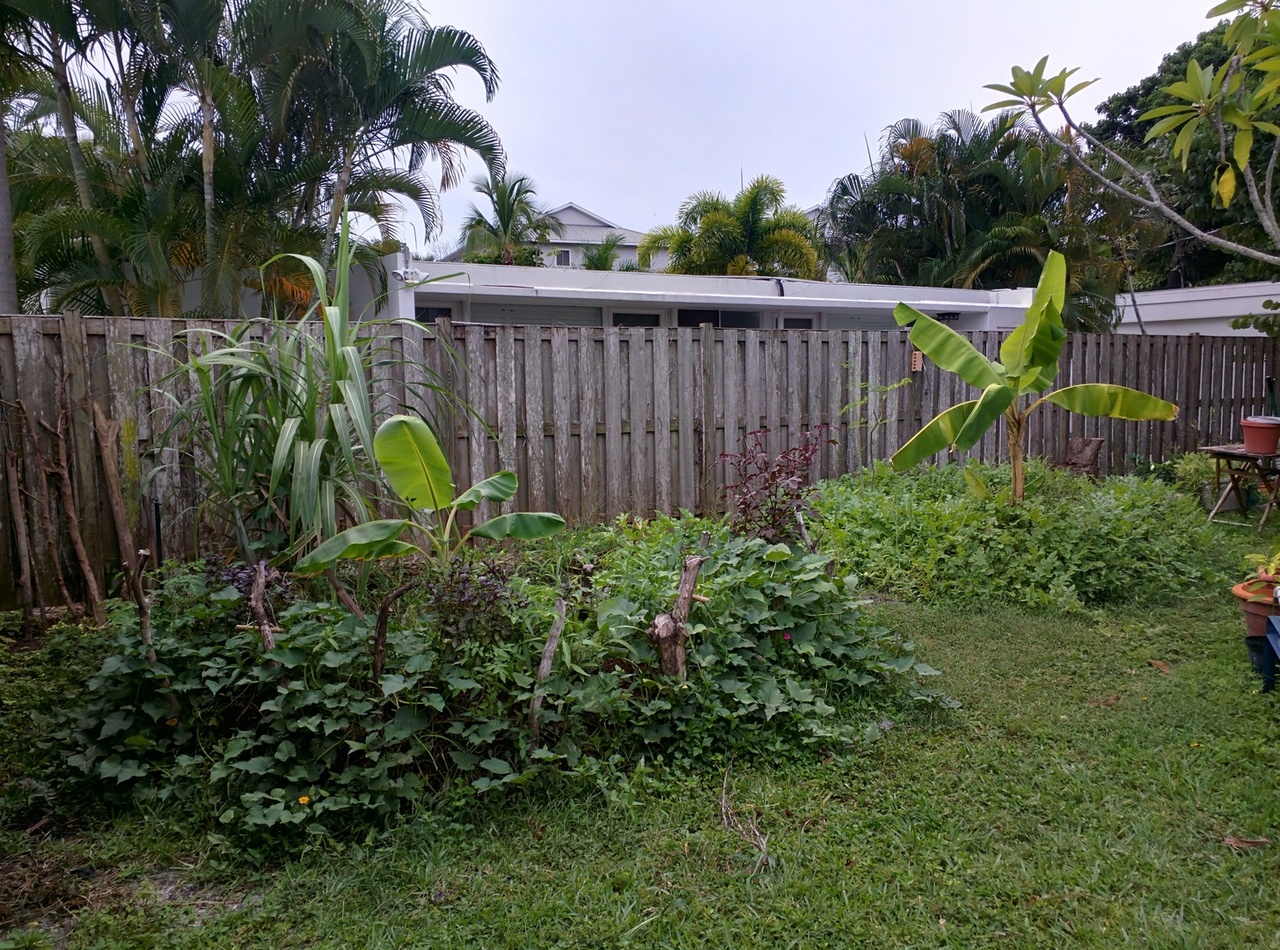
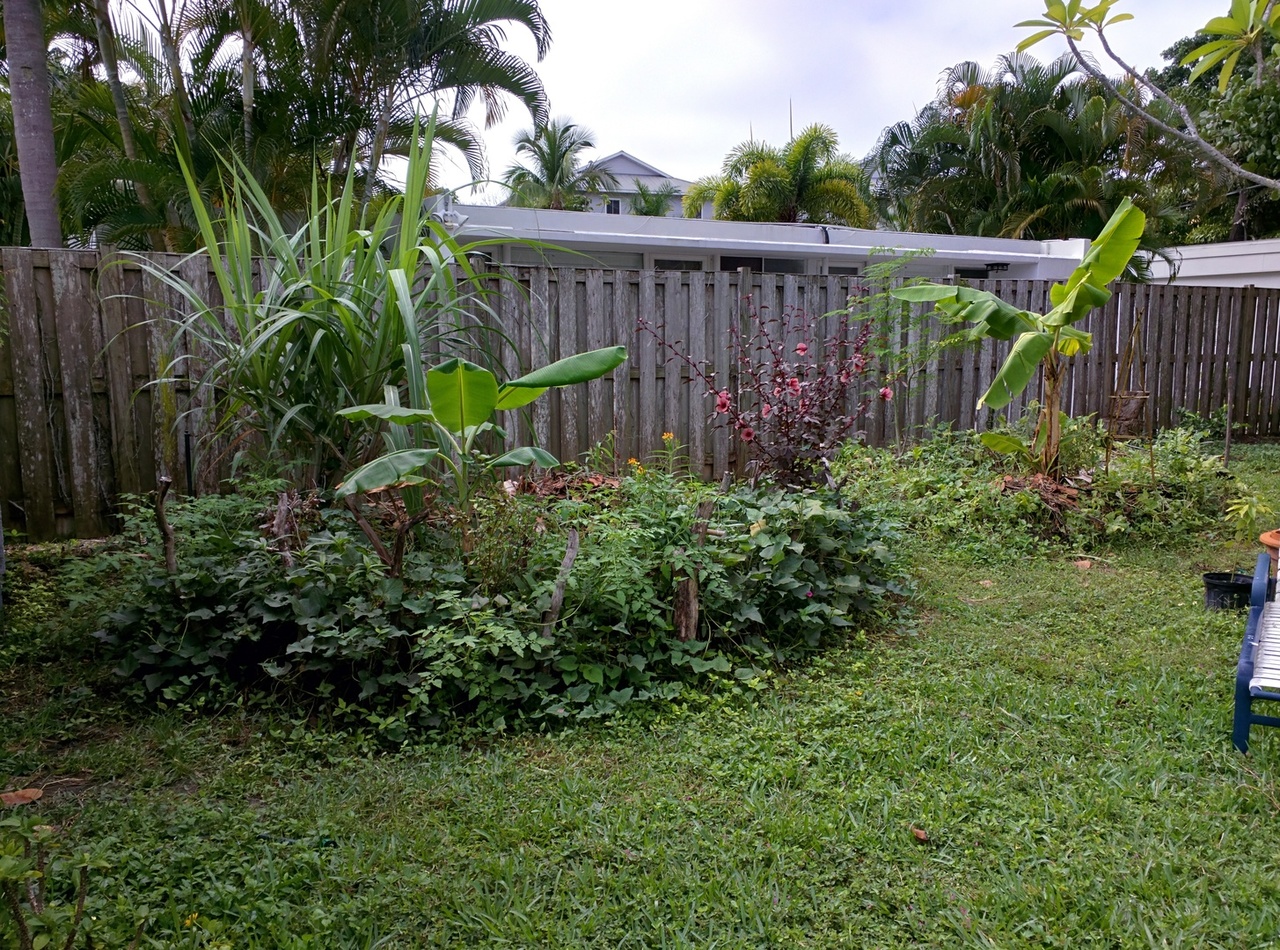
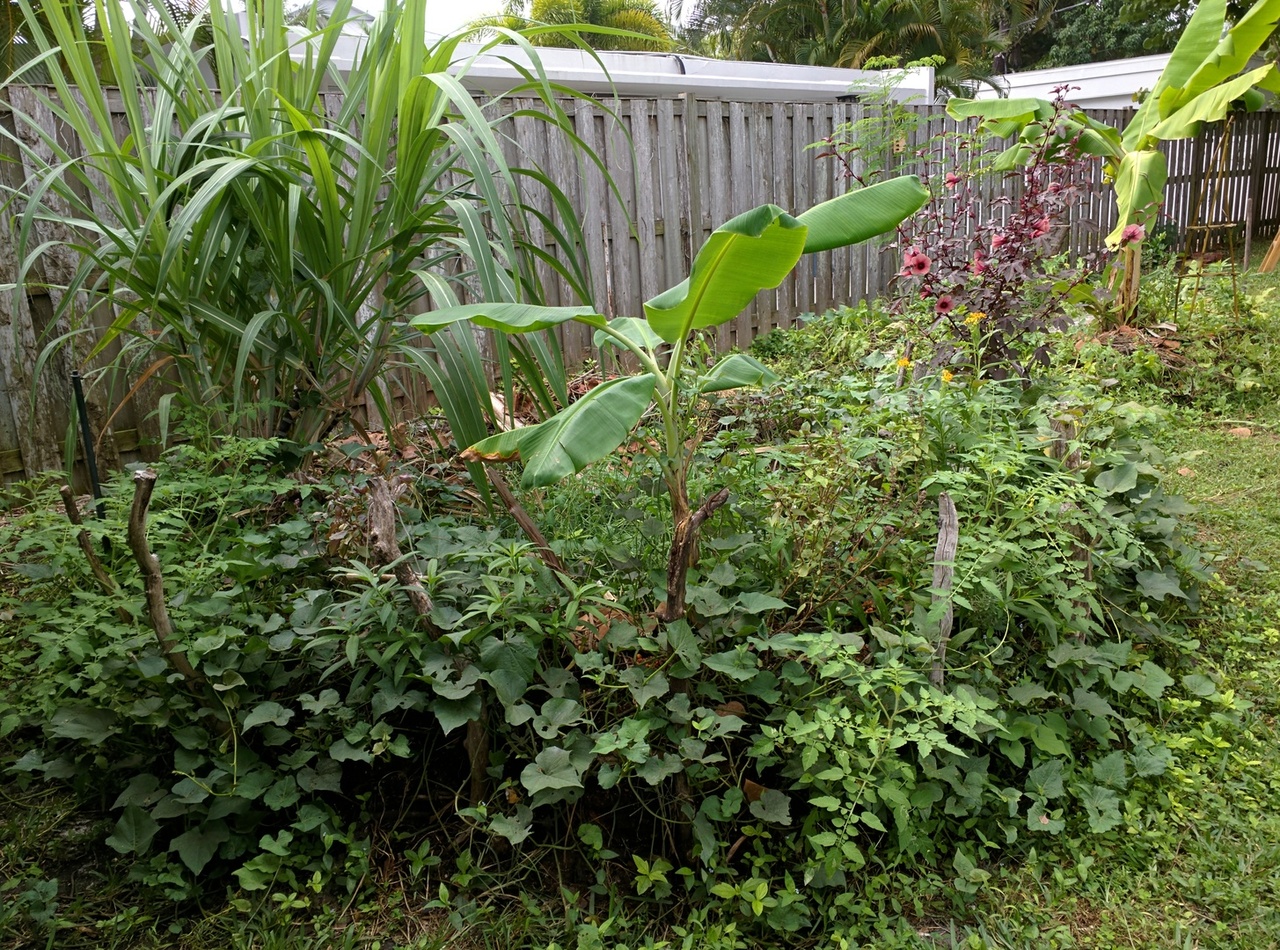
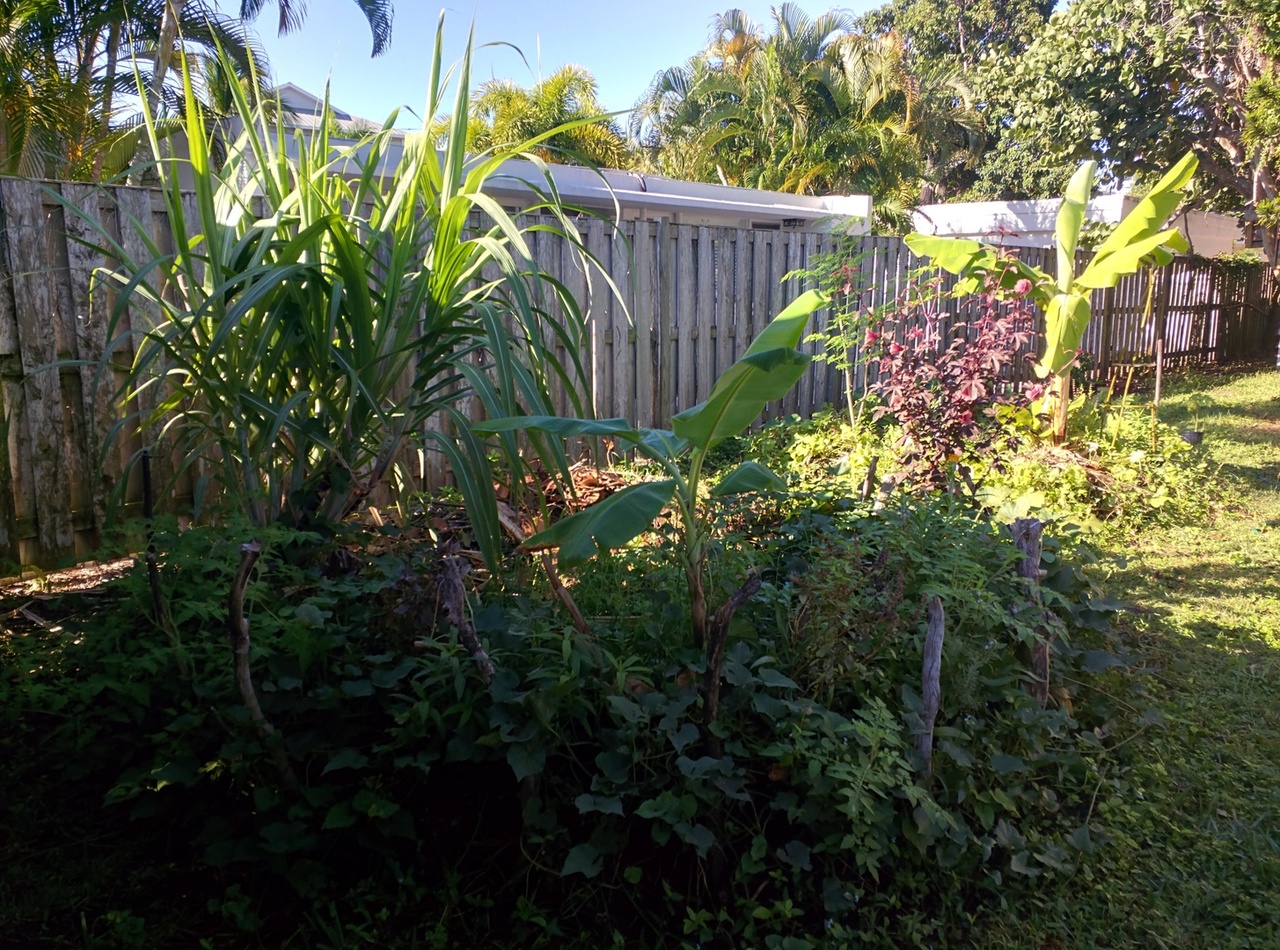
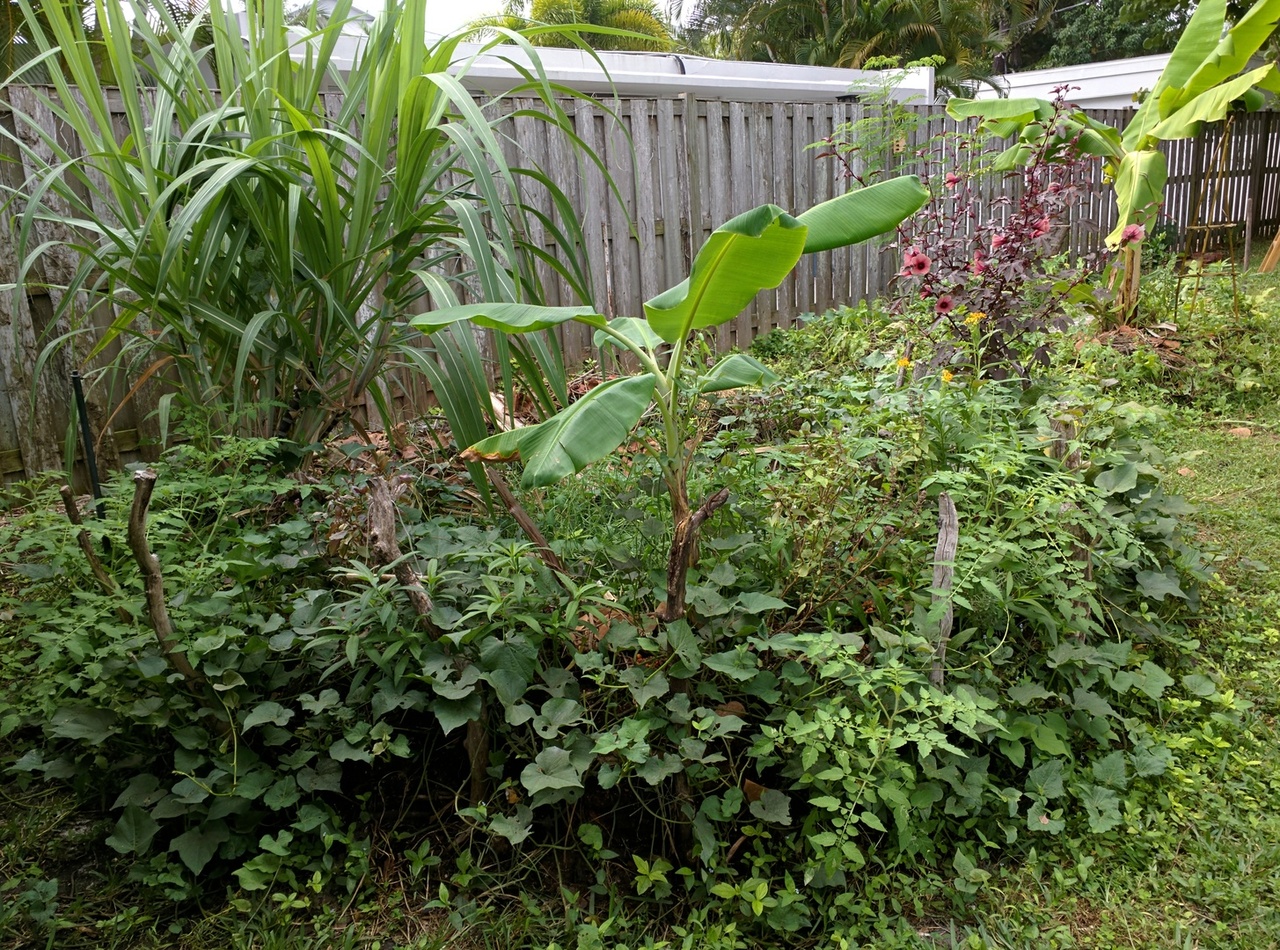
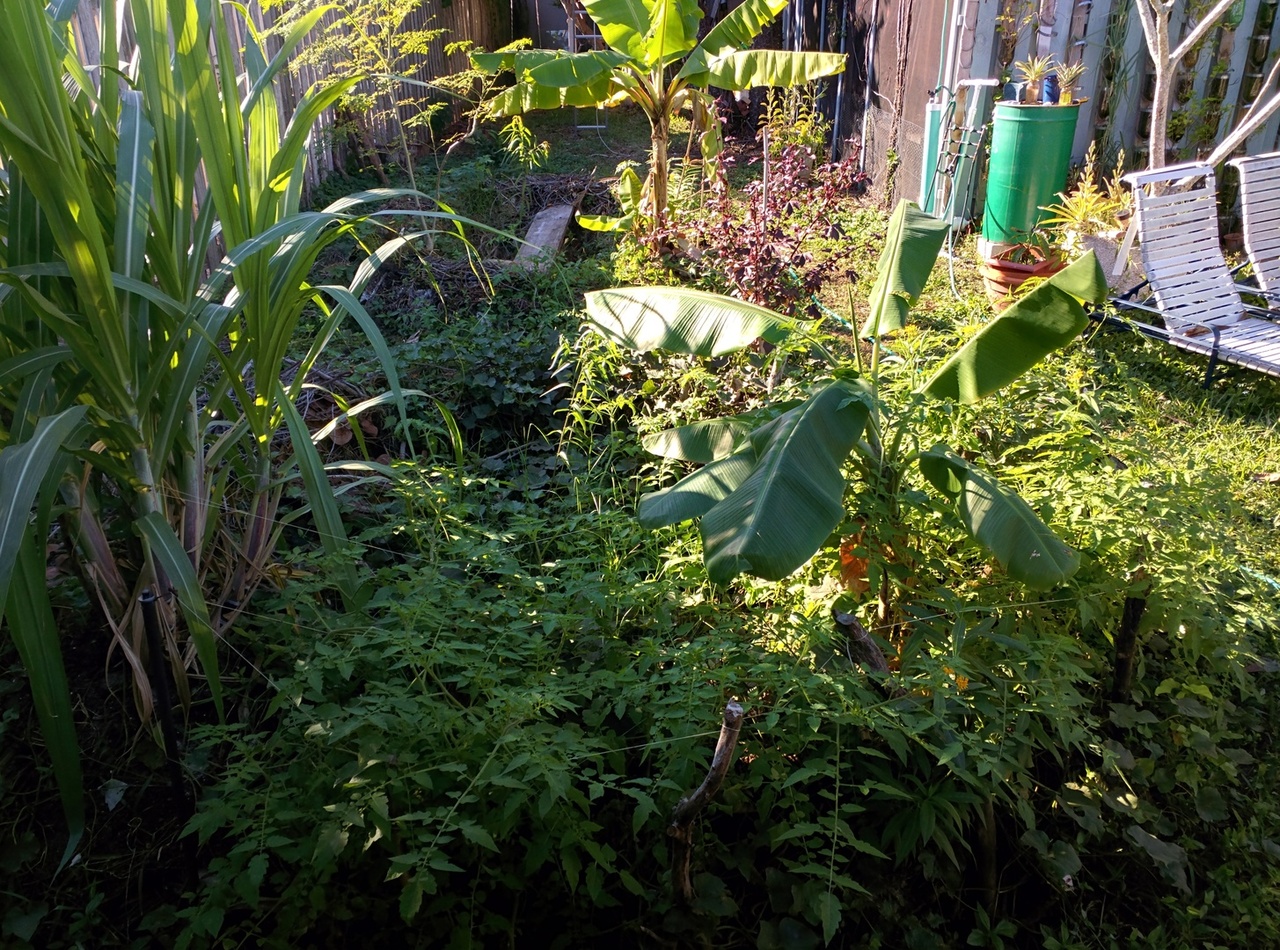
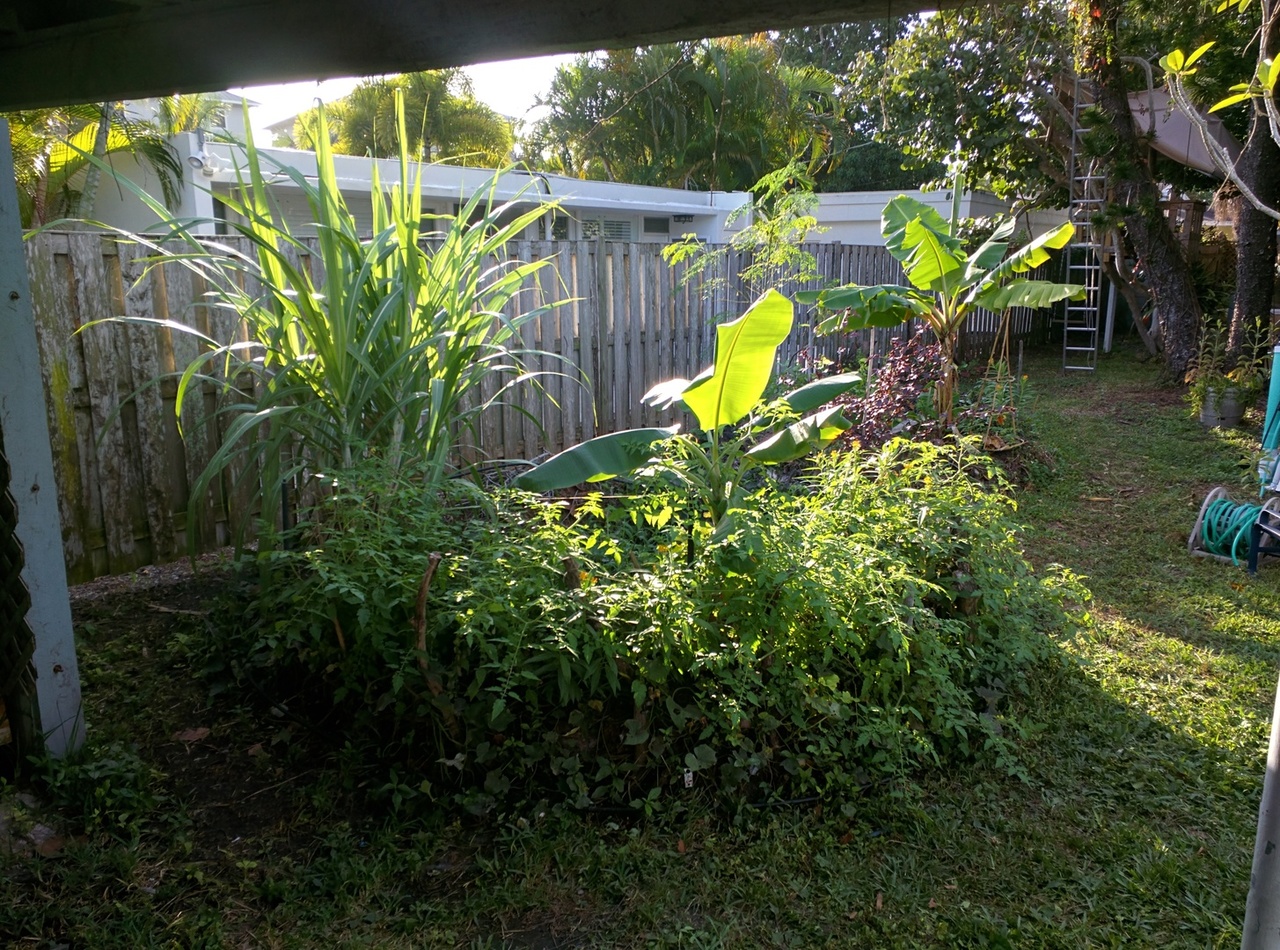
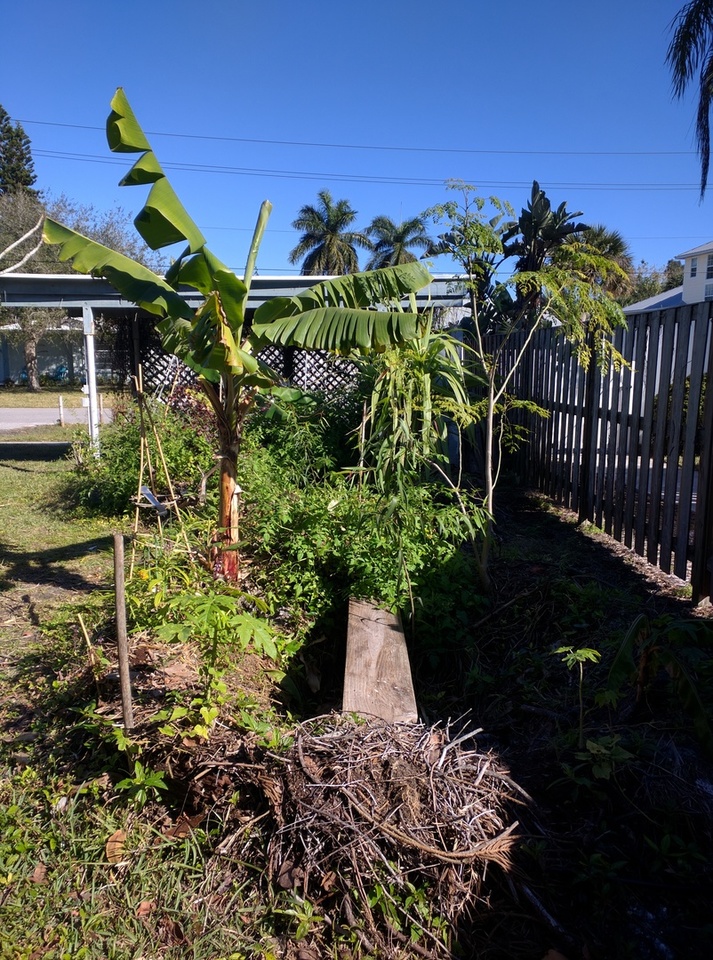
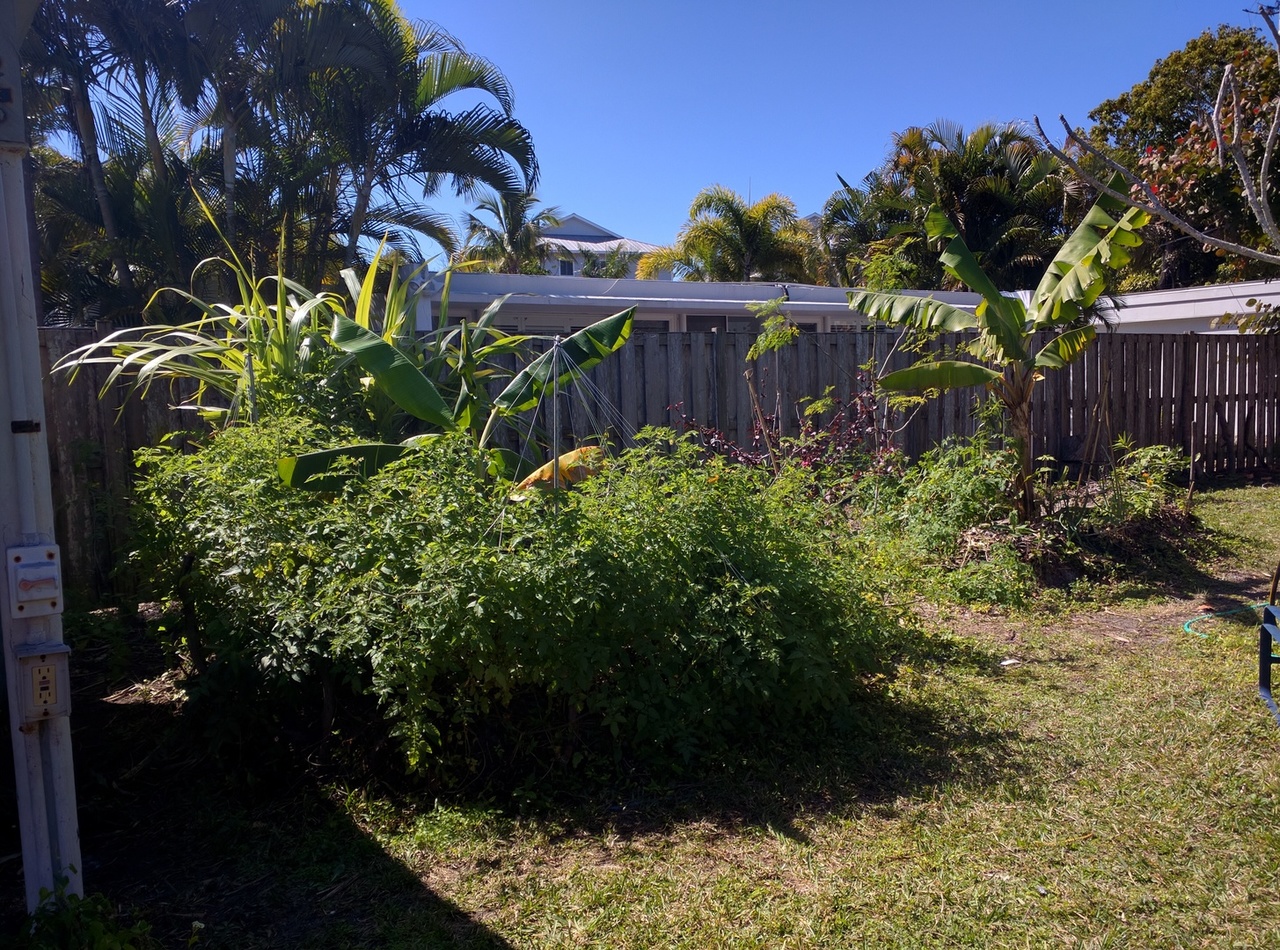
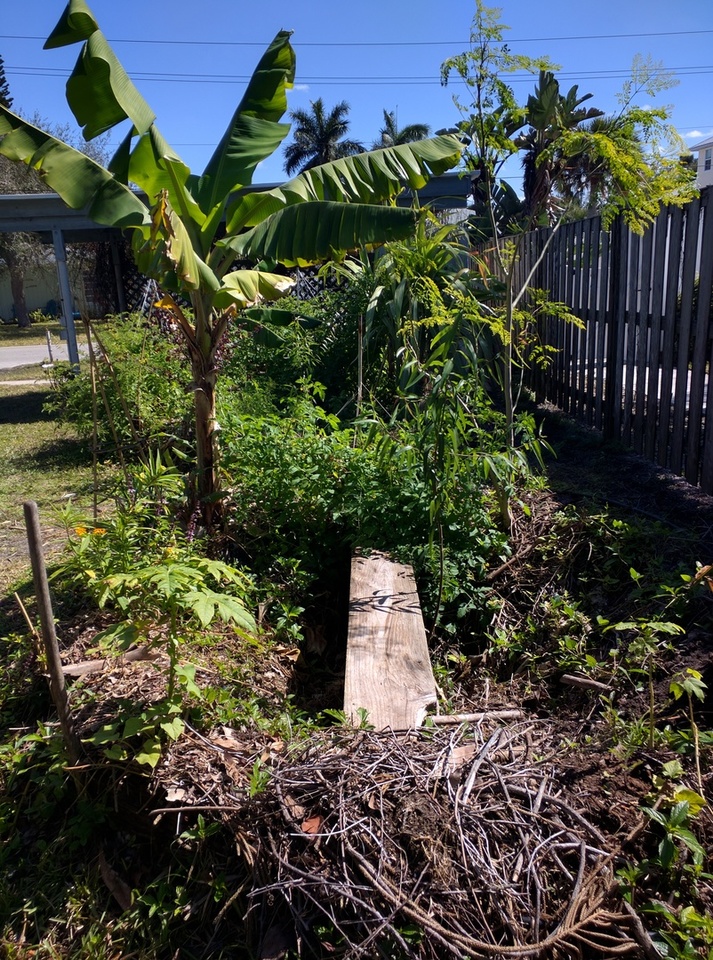
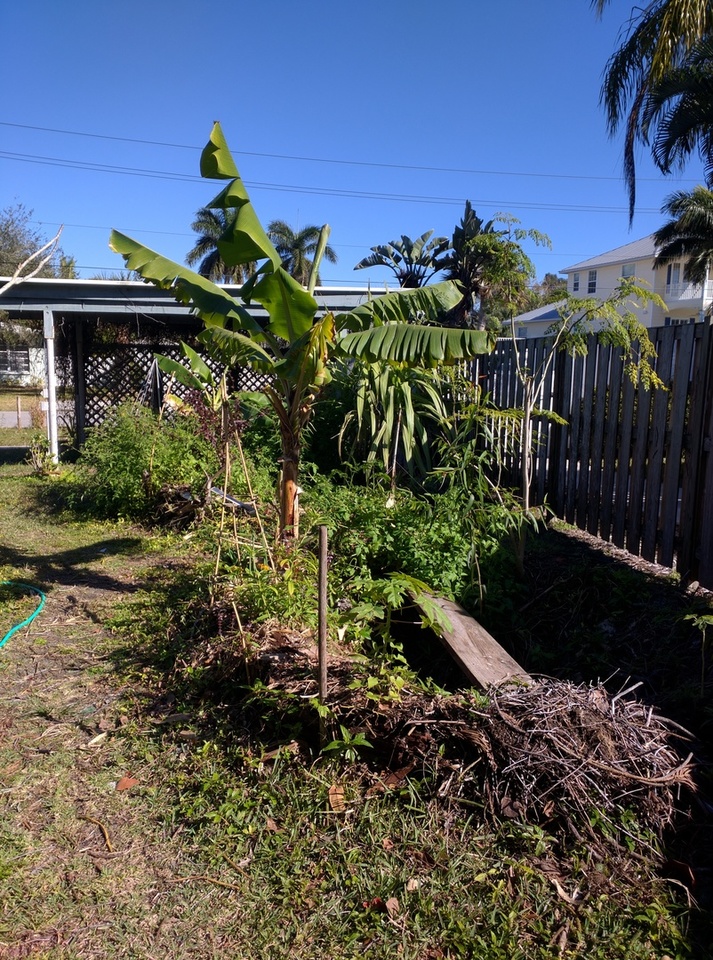
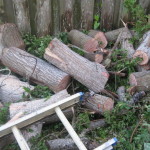
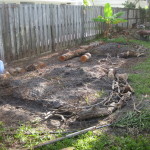
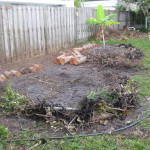
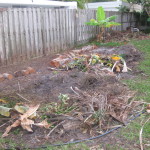
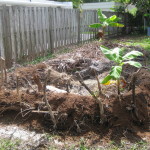
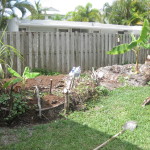
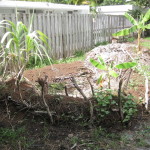
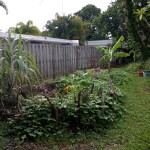
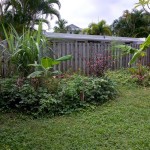
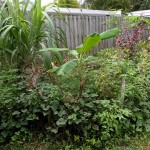
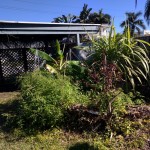
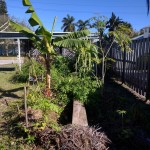
Hugelkultur. What is this word?  Simple. Buried wood – namely. I buried wood first and then a bunch of other stuff:  On garbage day, I ran around collecting random organic material: leaves, trimmings (grass, trees, bushes, fronds, etc..).

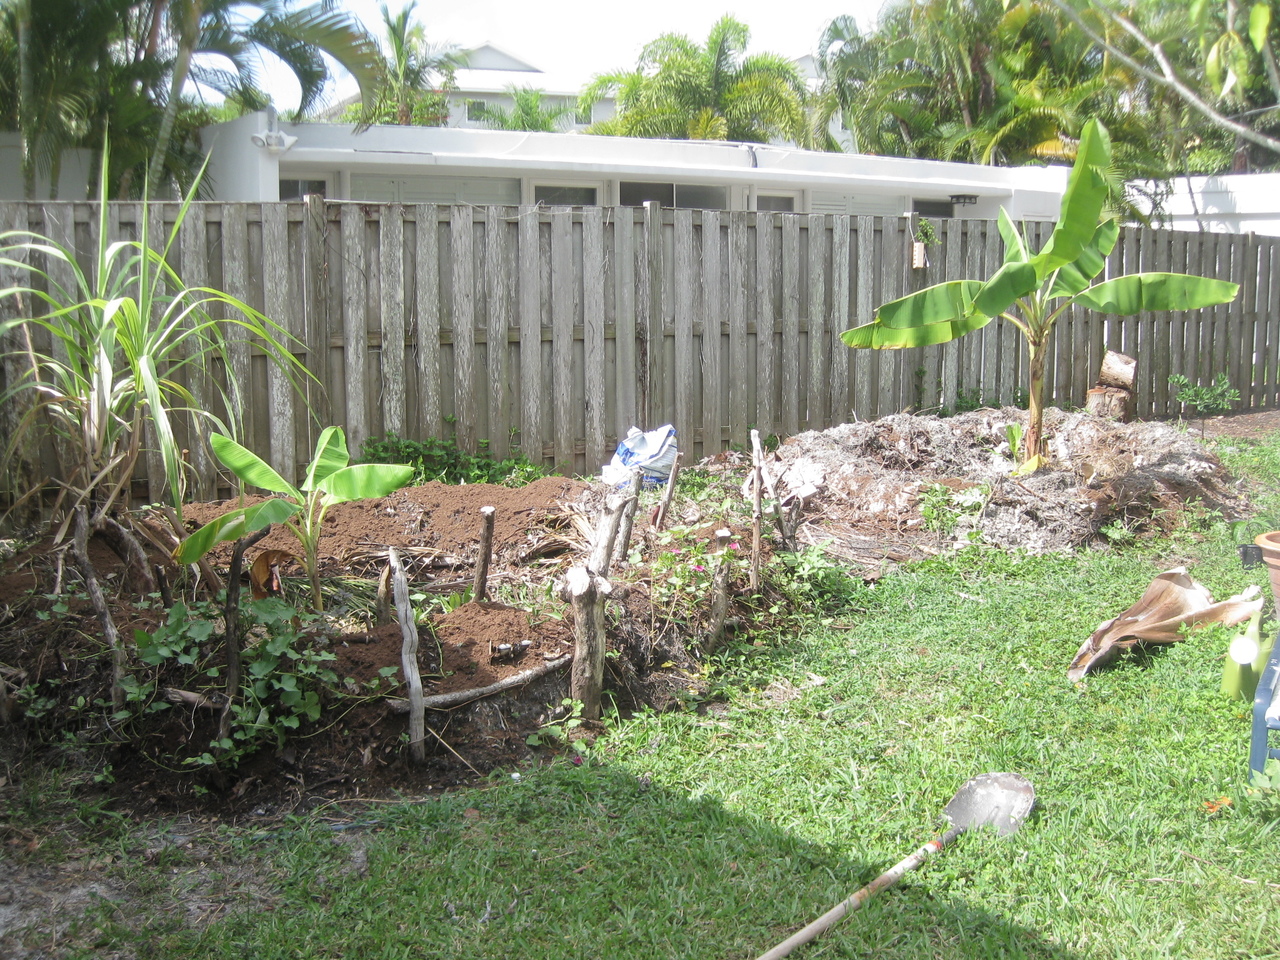
Then I went to the beach and collected mounds of seaweed.  I brought over my kitchen compost and began layering all this material.  I made a donut and used dirt from the center in between layers. Last I topped it off with some more dirt and peat moss.   Looks like a donut.

I’m gardening in the layered mound and use the middle as a compost pit for dog doodie and random garden/yard trimmings.

What have been growing?

On the beds

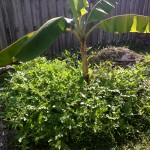
  • Banana plants, short and tall (cavendish)
  • Moringa
  • Papaya (volunteered)
  • Sugercane
  • Sweet Potato
  • Oxilis
  • Crepis Japonica
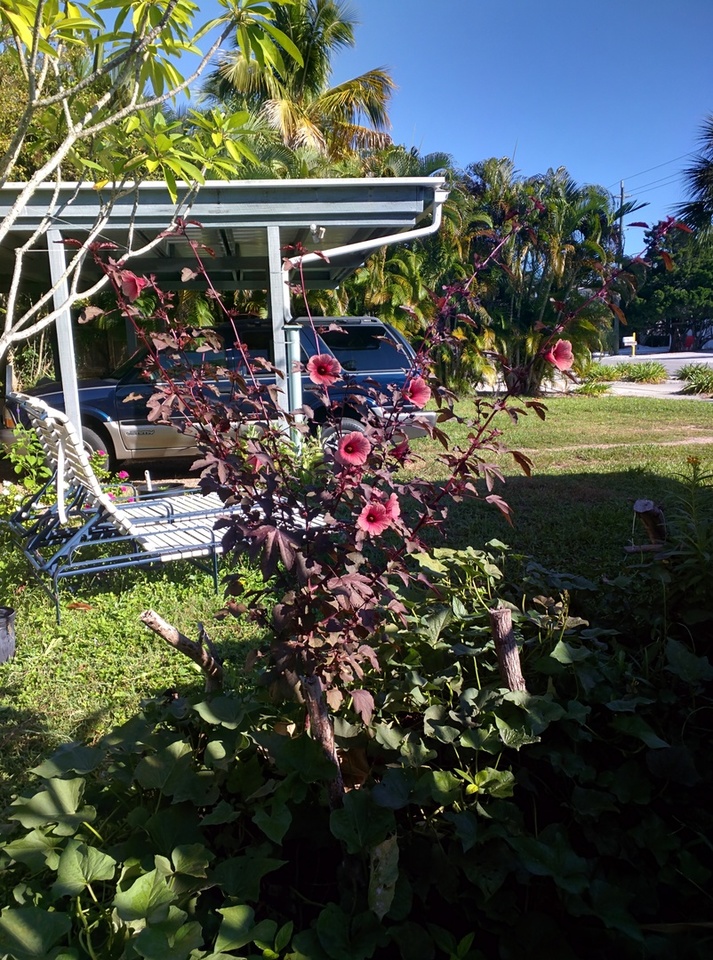
  • Cranberry Hibiscus
  • Milkweed
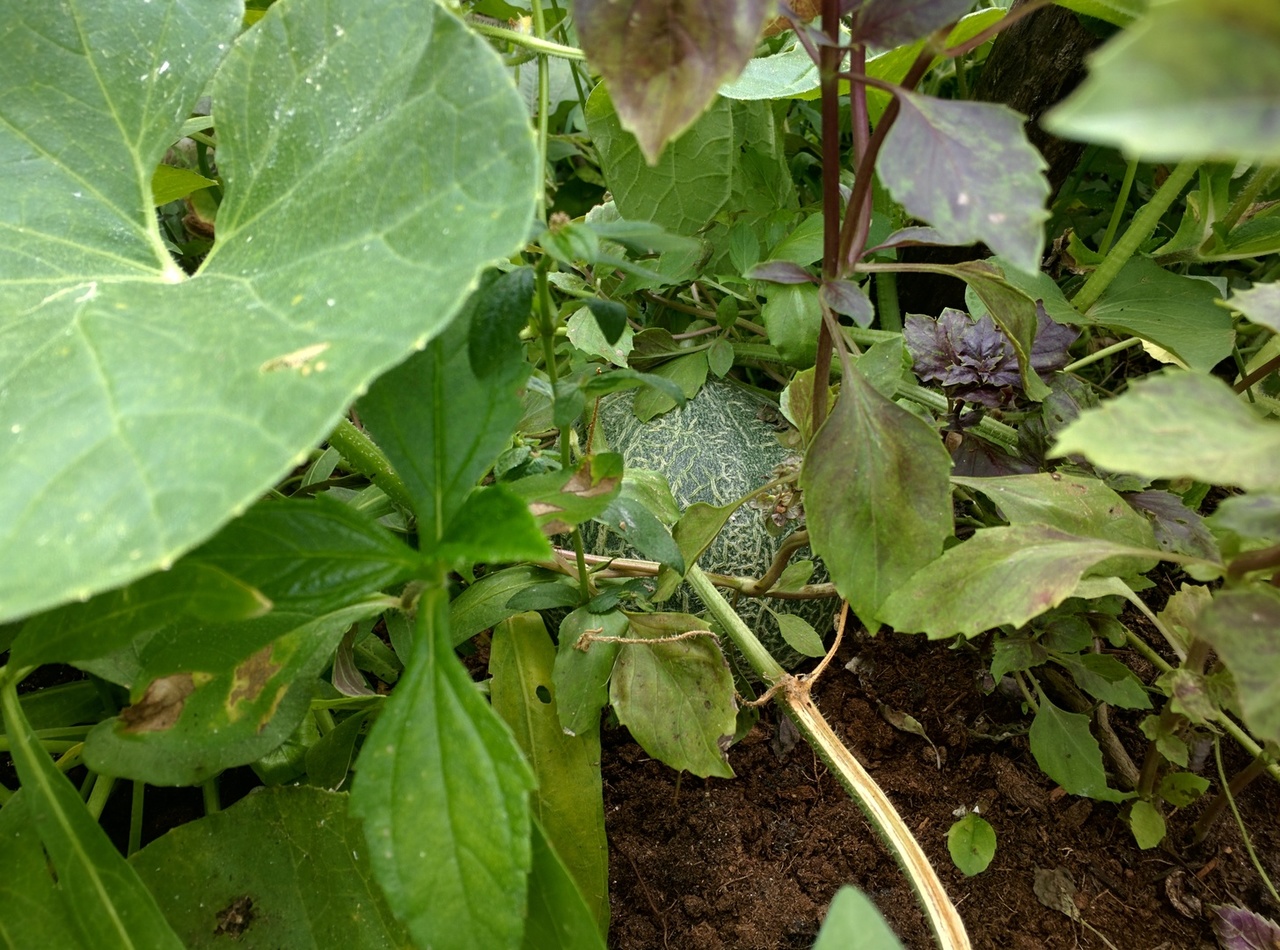
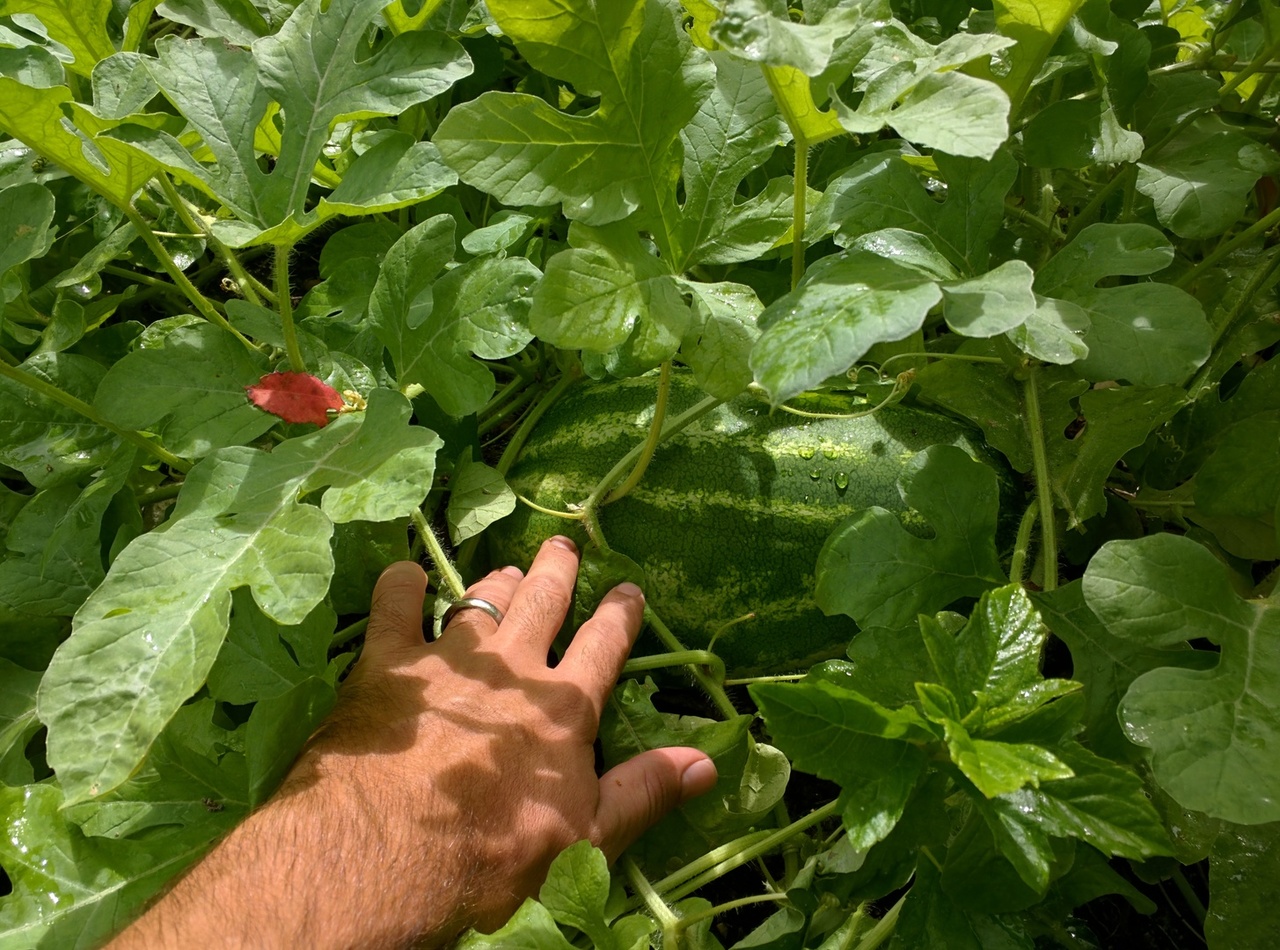
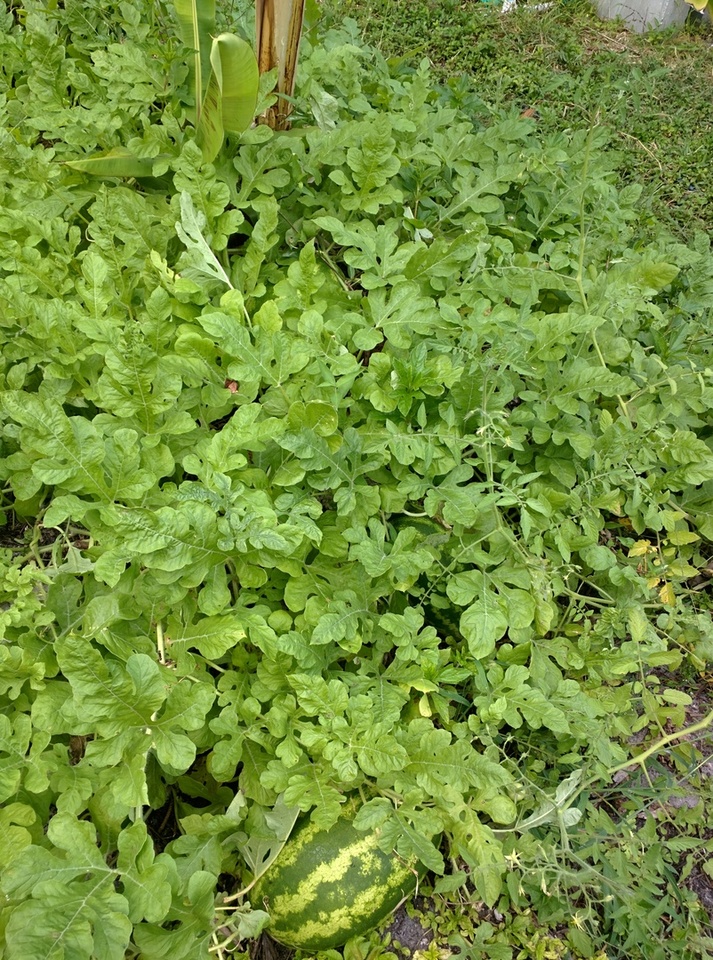
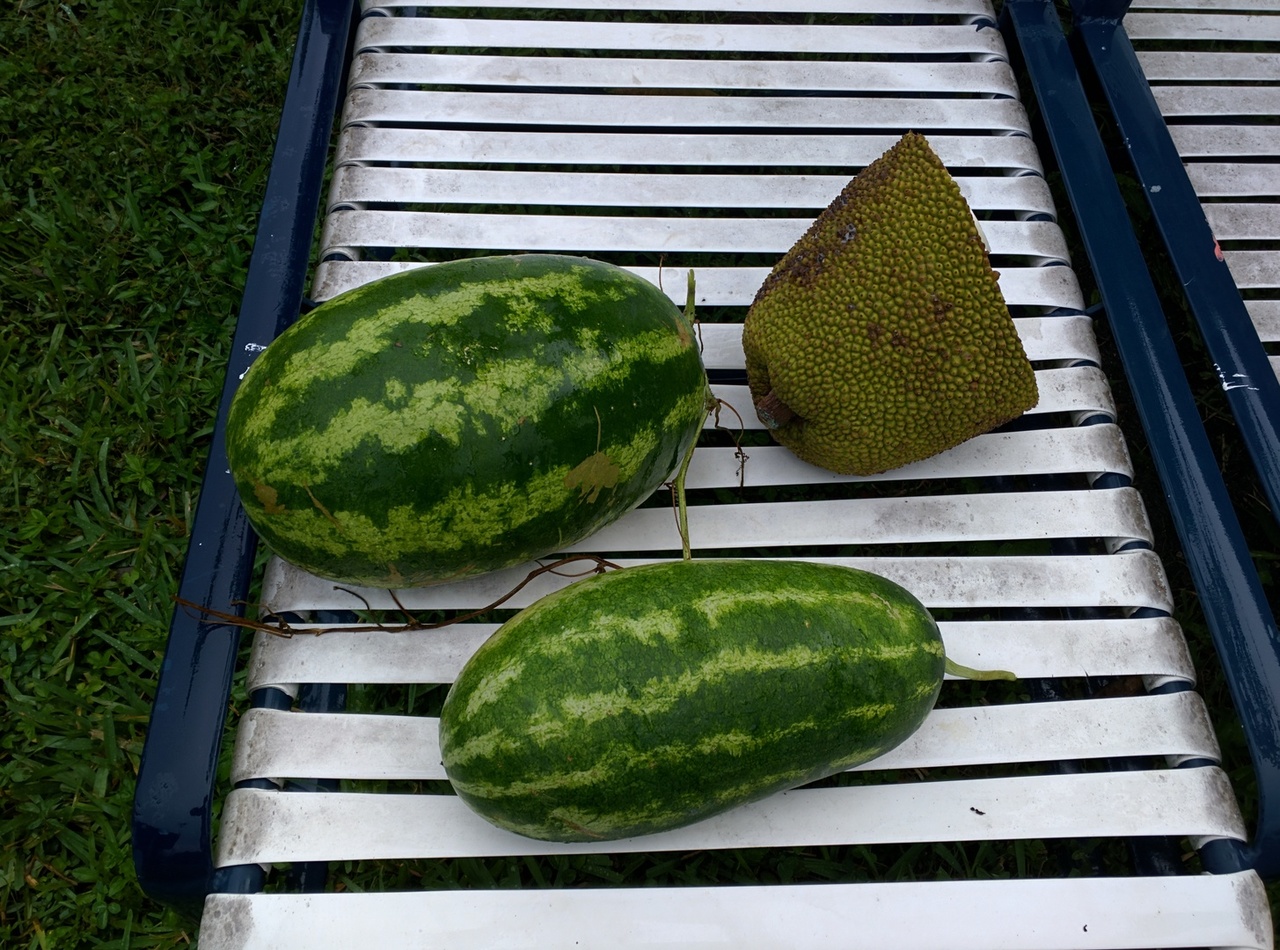
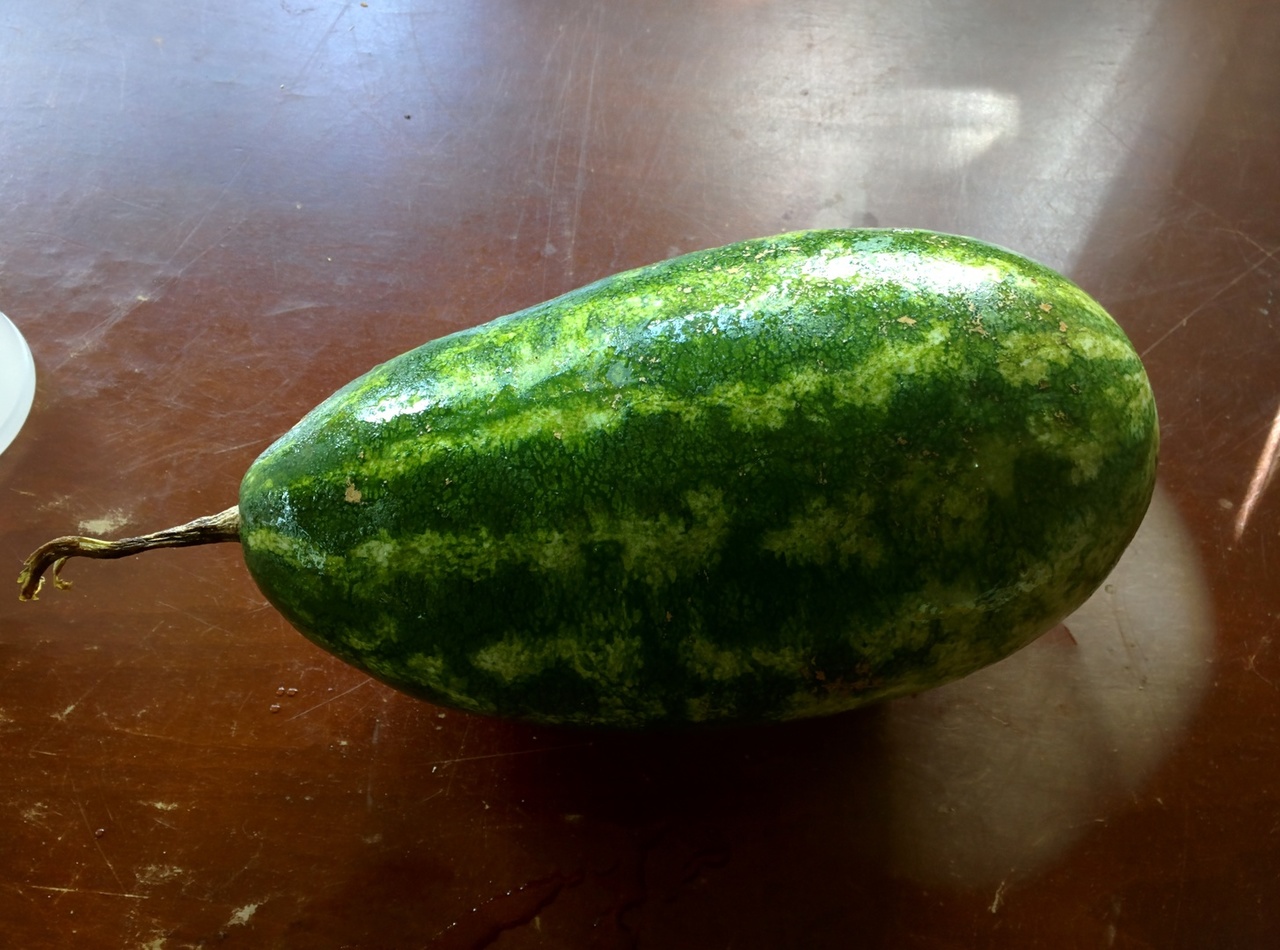
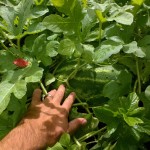
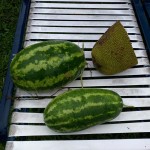
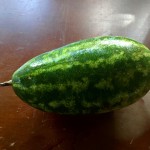
  • Watermelon
  • Sugar cane
  • Lemon grass
  • Tomatos on vine (unknown variety)
  • Florida Everglades tomatoes
  • Onions

In the middle

Carolina willow for medicine (looking for white).  I’ve had good luck alleviating headaches with willow east of I-75. However, I haven’t been able to reproduce results locally. It’s a young tree, which might be the problem. Time will tell.

More updates later.


Growing pineapples in 4″ main drain pipe

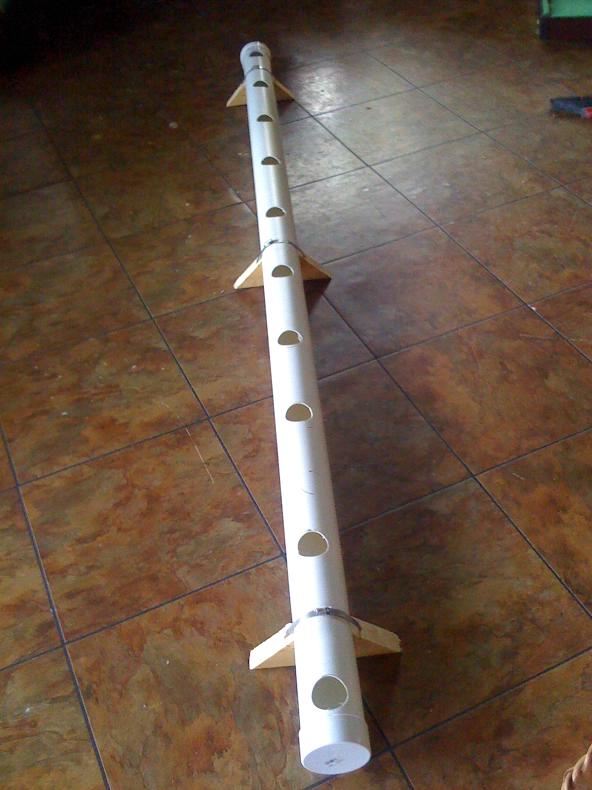
For a while I’ve been watching my Dad start pineapple tops in Tupperware containers.  I was surprised that the plants didn’t die over time because they were basically just in water and some miracle grow.  I wondered if the pineapples would fruit in these containers and wondered if I could just stick a bunch of pineapple tops in a half-filled-with-water main drain pipe.   I decided to try it and made this:

Maindrain with holes and feet

The stands were made with 2 wedges. I fed each hoseclamp around the pipe, through the holes in the wedges, and tightened.

I realized I could use the pipe to distribute water to my 2 liter garden. The idea was to pump rainwater into the pipe and let it fill up halfway where some tiny holes are drilled and let the water overflow into each 2 liter column. The watering method works well and I still water this way a year later.

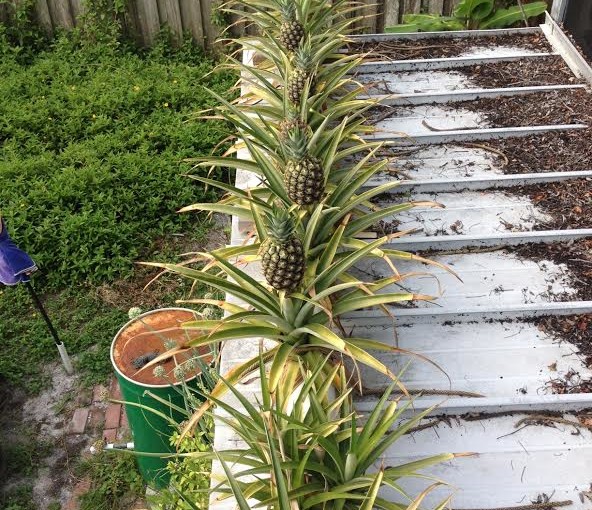
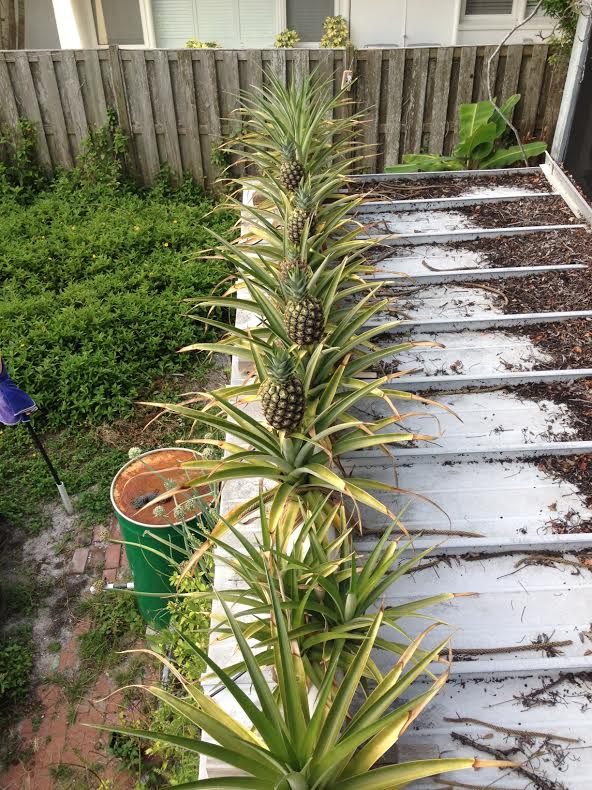
Over time and research I decided the water would become anaerobic and the pineapples would eventually die due to stagnation.  But I left everything as is because it functions to water the rest of my garden. I read from multiple sources that it would take up to 2 years for pineapples to start fruiting, but to my surprise 4 plants had set fruit the following spring.  Here’s what it looks like now in May:

Fruiting pineapples a year later


Early on I was pumping up either miracle grow or compost tea, but I got lazy and every since I’ve only been pumping up rainwater.  I don’t expect the pineapples to taste very good because they are pretty deprived, but I guess I won’t know until I try them.  We’ll see how big they get come fall.

Since this design I found using 4×4 PVC fence post is a curious alternative to main drain sewer pipe because you don’t have to design feet for stability. I realize there are better, more suitable materials for growing plants but PVC pipe is cheap and people use it.

One day I’ll try aquaponics and likely have pineapples on the roof running the the entire perimeter of my house.  I’m sure they would grow very well :)


The Markup-invocation Approach

Over my career as a Web Developer I’ve come up with some pretty clever ways to achieve things (sometimes too clever, as a colleague would say :). But the following process is something I’d definitely use again, it’s thoroughly tested, critiqued by peers, and relatively clean.

Many JavaScript libraries that extend DOM (Document Object Model) functionality, also provide out-of-the-box components (sometimes called widgets or objects).  Often, these libraries will ship with HTML markup which is used throughout their components. These components parse and use this markup to create or shape existing nodes in the model.  Together these nodes compose and enhance UI components (menus, buttons, etc..) which make for an all-a-round more sophisticated webpage and user experience.

These frameworks often have an abstraction layer that makes it fairly easy to create, extend, and use components. Generally speaking, one would use the library’s methods to create objects and attach them to elements in your markup structure using selectors (often IDs). While this sounds trivial, it’s also repetitive. In practice, the use of these libraries tend to support the idea of stuffing markup into JavaScript for UI enhancements. This practice, when applied to custom written libraries, can subtract from the knowledge a server already has gained by rendering HTML markup structure in the first place.

I’ve developed JavaScript libraries using a different idea which allows the server to render most or all the markup needed for an enhancement, so that JavaScript, in many ways is reduced to binding/handling events and displaying a server-shipped structure. I think having markup which is primary sourced from the server encourages the re-usability of markup by the server.

At the root this process is an invocation layer I call an AutoInitter, (which could be a name for a lot of things), but the job of this code is to construct JavaScript objects, (or invoke functions) using class and data attributes provided by an HTML element.

Here’s an example of how it works:

Lets say you have some HTML element and you’d like to have some action – maybe a toggle of some sort. And when the page loads you want some content to be showing (state = “open”).

I might structure my HTML markup like so:

And my javascript might look something like this:

In Action:

Click Me!
Here I am :) …some content…

So, what’s nice about this setup, is the logic above is all I have to think about.   The trivial (but repetitive) stuff involved with actually finding my HTML elements, in JavaScript, disappears and is abstracted away. Infact, there is rarely a need to define an element ID attribute.

So how is the above code fired off? Like this:

This kinda of markup-invocation approach promotes an object oriented library design and keeps both JavaScript and HTML in their places. JavaScript code also executes only when needed (which includes binding events).

Even more, there is power gained with AJAX using the HTML response type because new functionality can be easily added (or removed) by responding with a new .auto-init element and respective data.

But I love JSON you might say!!!!? No problem, just pass your data through as an argument!

So, this means I can send an AJAX request to the server and replace the toggle’s content block with totally different markup and evolve the user experience on-the-fly, by invoking new functionality with markup provided by the server.

Here is an example:

Click Me!
Here I am :) …some content…


The above code integrates seamlessly on wordpress, but you can view an isolated example here:

To see the PHP code you’ll have to download full sample here:

As you might gather, this markup-invocation approach becomes particular useful when chaining several HTML forms together. AJAX server-side error checking can easily replace most, or all of client side error checking which eliminates the need for redundant logic.

Things can be said about HTML degradability as well. While this idea is becoming increasingly dated, with this approach, you will find HTML degradability to be as natural as it is graceful.

Enjoy :)

Shaun Moen

Mini Bell Siphon Seed Sprouter

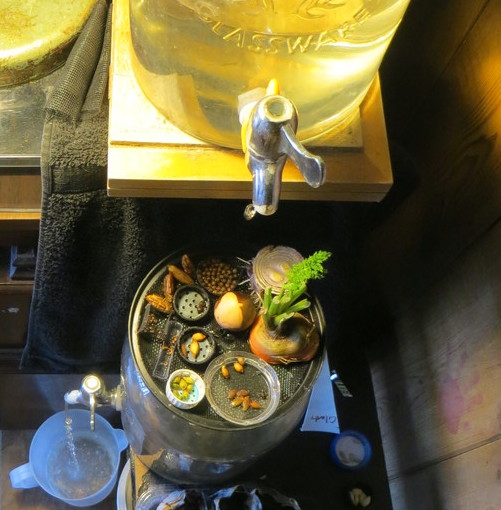
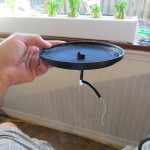
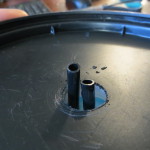
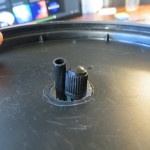
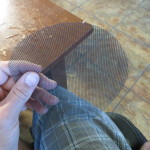
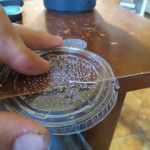
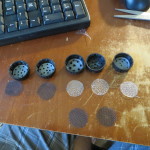
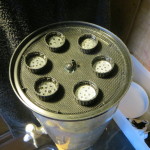
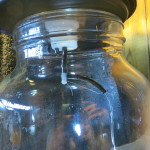
This is a mini flood and drain setup made from stuff around my house. See a video of it in action and/or make your own, referencing the photos below:

I made it because I didn’t like sprouting seeds in a paper towel – mainly because I had know idea when the seed actually sprouted, but I also encountered the following issues:

  • I’d forget to add water to keep the towel moist. And if I remembered, I would add water because I didn’t want to forget (making them too wet :)
  • The seeds would stick and/or roots would grow throughout the paper making them hard to separate.
  • Requires paper which I’m trying to avoid using if I can.

With this seed sprouter, I just watch the progress of the seedlings and when they sprout, I nab them! Sometimes my little girl wants to plant seeds and I just say “drop it in the seed sprouter!”.

Maintenance:

When the water is low (every 2 or 3 days), I recycle the water from the bottom catch to the top. I refresh the water every few cycles or so and give couple good squirts of hydrogen peroxide. Hydrogen peroxide is the key to maintenance free (or relatively so).

What else can I say? It’s great!

UPDATE: 2018

I learned that some seeds won’t sprout (not sure why). Some do some don’t. Also when trying re-growing onions, make sure water doesn’t get on the top of the onion or it will rot and don’t keep the onion in the sprouter for too long; it seems they might inhibit the growth of other seedlings.  I’m moving to an aquaponics/hydroton ebb and flow setup for seed sprouting.
Water Powered Timer

Pond

Garbage Day Garden

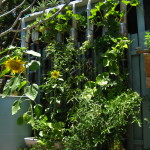
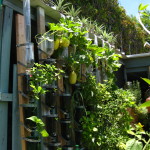
I posted an article on constructing a garden from 2 litter bottles.  I like 2 liter bottles for their uniform look, and thought they would work well to make a kind of a modular garden which is easy to water. In reality, there are a lot of caveats.

So you can read about the basic construction here:

http://www.moderndaydads.com/garbage-day-garden/

Also, you don’t have to buy pipe strap.  You can cut straps from other 2 litter bottles, which is how I do it now.

Here are some of the problems I ran into using 2 litters as pots in this tower fashion.

Drainage and PWT( perched water table).  It’s was easy to overwater my plants because the soil on top felt dry long before the soil on the bottom dries.  Poking holes all around the container helps, adding a wick helps, mixing pine bark into soil helps, and having awareness of root depth and the plant type helps. Also it helps to buy a moisture meter :) – They are cheap.

 As a software architect it was tempting to try to automate watering.  By design you can water all plants simultaneously, but that doesn’t mean all plants want water at the same time.  To close the gap, it helps to group plants of the same type and size in one column.  It also helps to sort the plants so thirstier (or well drained) plants are on the bottom. 

See the following link for more information about PWT:
http://davesgarden.com/community/forums/t/527353/#b

Plant Types – don’t expect grow lots of tomatoes, or peppers, it can be done, but they like more room.  Here’s some plants that I’ve had success with:

  • cilantro (I grow a lot this)
  • scallions (I grow lots)
  • basil
  • parsley
  • oregano
  • ground cherries,
  • lettuce,
  • lemon balm,
  • blue porter weed,
  • thyme
  • pineapple sage (needs lot of water)

Algae – you might read that algea grows in clear containers and competes with the plant’s growth. If your worried about this, you can leave the labels on or paint the outside of the bottles. I’m happy regardless of the algae, but it’s worth noting.

…More to come…